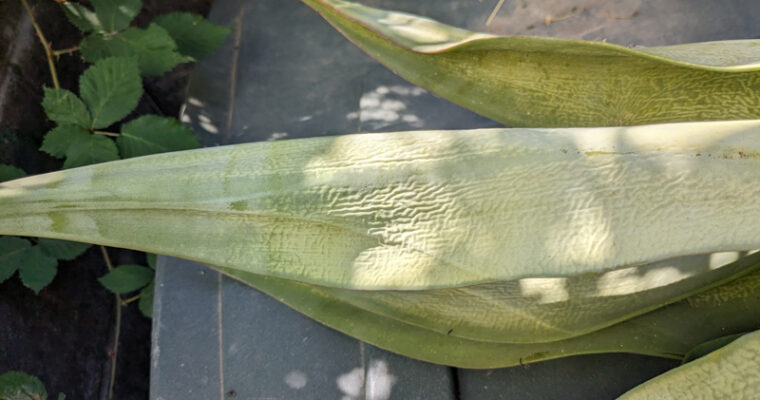
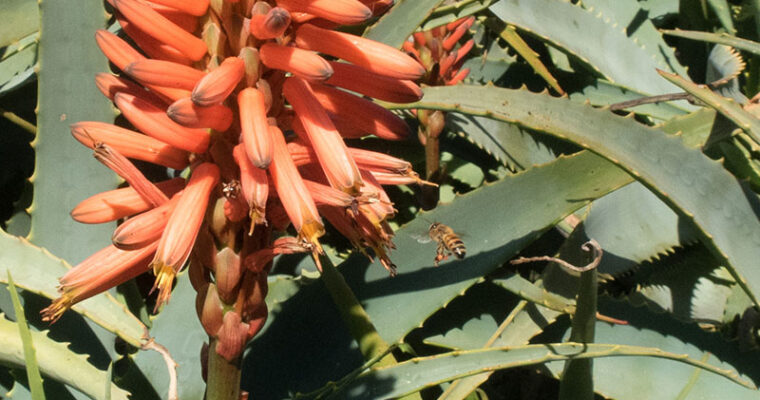
I started noticing that one of my oldest agave plants had started sending me a message in what looked like an ancient alien language (note: I have been playing a lot of Legend of Zelda: Tears of the Kingdom, so that may be why my …
I’ve written about gardening with kids before, but after working with elementary age kids in a garden club at the local grade school, I’ve learned a lot more about how kids and gardens work together. I am not a teacher, and I have had no …
I have struggled for years to grow sweet peppers since moving to the Bay Area. Strangely, hot peppers are not a problem. In fact, about to go into my fourth year with the same jalapeno plant. Despite these issues, I decided to try what sounded like an exciting new possibility: the “Habanada” Pepper (available from Baker Creek Seeds).
The Habanada is touted to be a non-spicy version of a habanero pepper. That is, it should have the sweet, bright flavor of a hot habanero pepper, but without the heat. This seemed like the perfect solution to my can’t-grow-sweet-peppers problem.
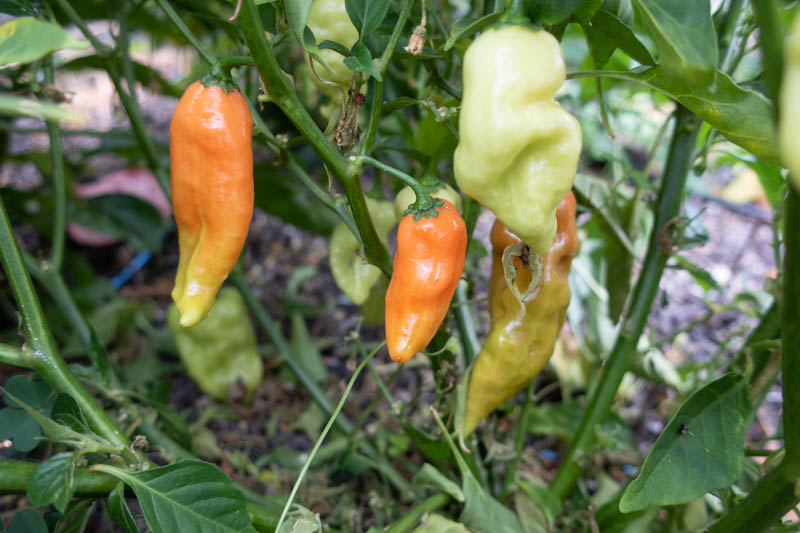
Growing these peppers was incredibly easy (for peppers). The seeds sprouted and grew well indoors, and once planted outdoors, they seemed to take well to our climate. The plants grew stout and wide, and had hundreds of little green peppers on each plant. I harvested some when they were not quite electric orange, more of a yellowy-orange, and found the flavor astringent and unpleasant. They also definitely have a little bit of a kick (at least my kids thought so), despite promising none.
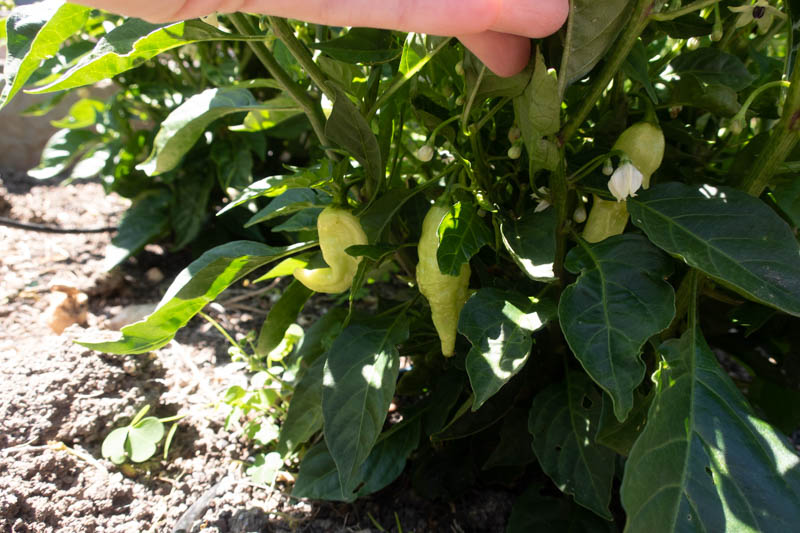
Flowers and peppers forming on a very happy habanada pepper plant
Strangely, while the peppers produced fruit quickly, the peppers took months to ripen (which is why I tried some too early). At this point in January, I still have many light green peppers on my plants.
The peppers I harvested when they were an electric orange color tasted much better, but were still a disappointment. They lacked that citrusy sweetness you would expect from a habanero, and have no interesting or unique qualities of their own. Well, that’s not true–they have a weird flavor that I can only describe as close to the taste of an ant that you actually eat. You know, like it was climbing on a cup and you take a drink and it gets smushed and you taste it? Yeah, that’s what these peppers are like.
I did not try roasting the peppers, which may have improved the flavor.
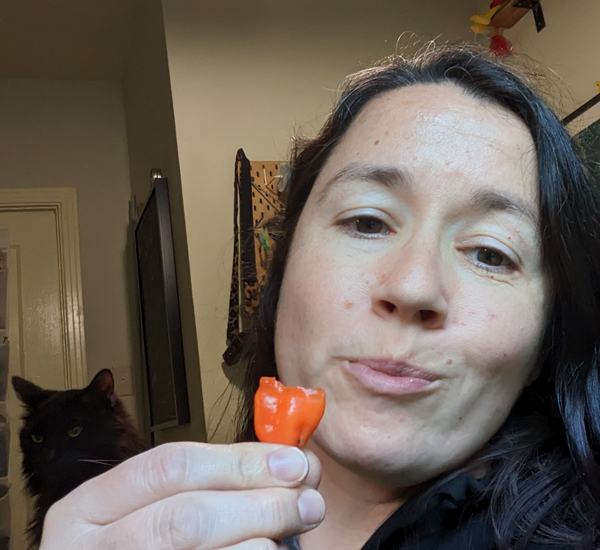
Overall, I would not recommend these peppers if you are looking to recreate the habanero experience without the heartburn. If, however, you want to prank someone into thinking you’re easily downing a regular habanero (150,000 to 575,000 Scoville Heat Units) like it’s candy, then this would certainly work 🙂
The cat doesn’t believe it’s a real Habanero, but maybe your friends will!
Side note: this year I finally found a sweet pepper that will grow in the Bay Area! Huzzah!
I hate throwing things away. I save every “nice” box or envelope that comes in the mail to use again some day. I compost or recycle everything that can be composted or recycled. I shop secondhand. It’s just my natural way of being, to try …
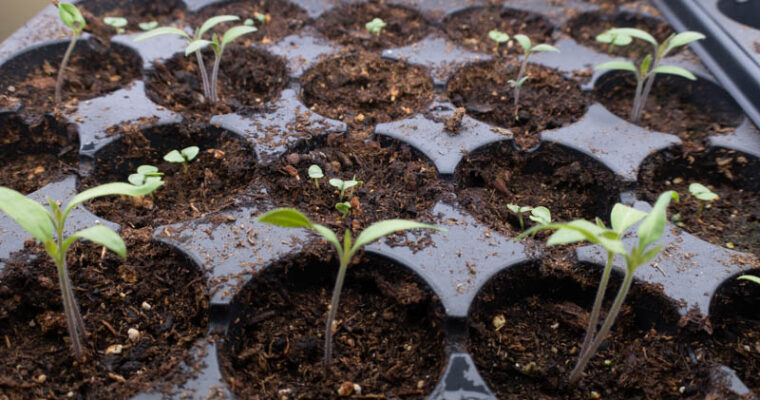
When we start seeds indoors, we are trying to give them a head start before putting them into the harsh world of the out-of-doors. So, when our tender, baby seedlings seem to just pause, or stall in their growth, it can be very stressful. What …
If you, like me, love plum wine, you might have some to drink on occasion.
If, like me, you make your own, you might have a gallon+ sitting around.
And, if you are like me, you may be wondering what there is to do with plum wine besides sipping it, cold, and enjoying that subtle sweetness and plummy taste?
As much as I love plum wine, it can be too cloying when you have had too much. Its sweetness can also lead to unpleasant hangovers.
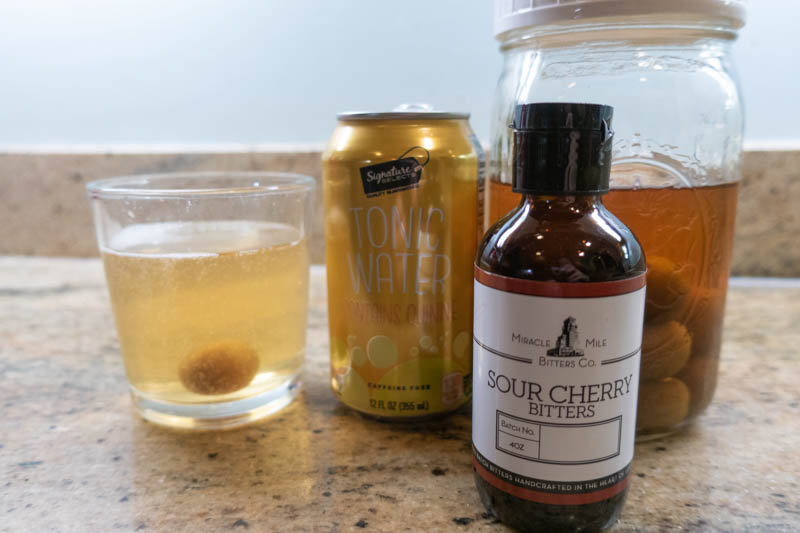
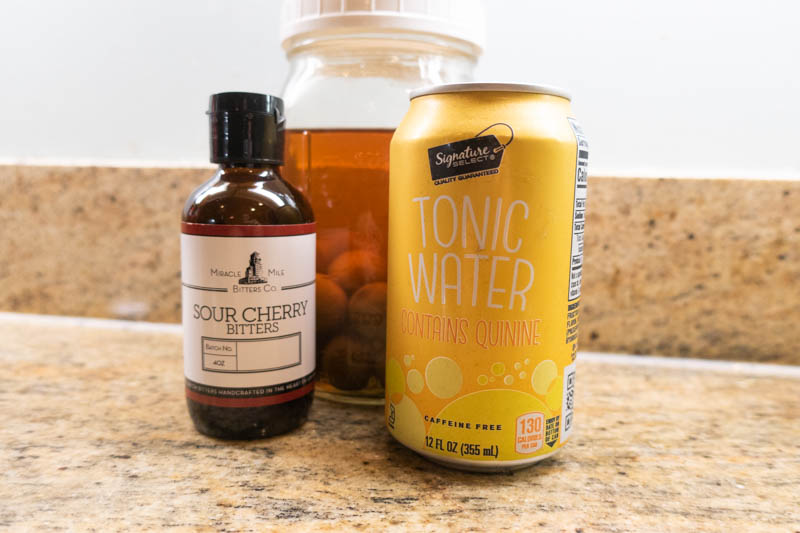
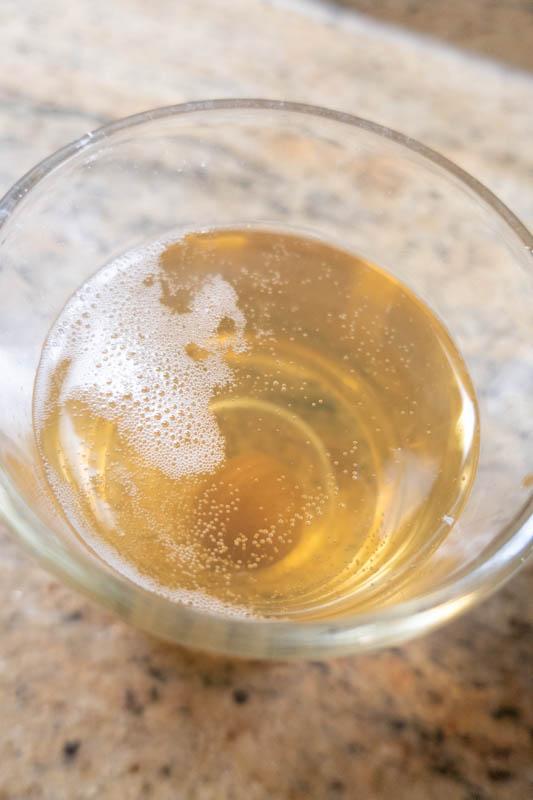
Thankfully, I’ve discovered a delicious way to cut the sweetness with tonic water and bitters, making a new drink that I call a Plum & Tonic. It has that plum-tastic taste, but without the syrupy feel. And, the extra water will help hydrate you, making hangovers less of a certainty.
This tasty cocktail has only 3 ingredients
Plum and Tonic Recipe
Ingredients
1/4 cup Sweet Plum Wine ([homemade] or store bought) 6 oz chilled Tonic Water (half of a 12 oz can) A shake or two of bitters (I like Sour Cherry Bitters)
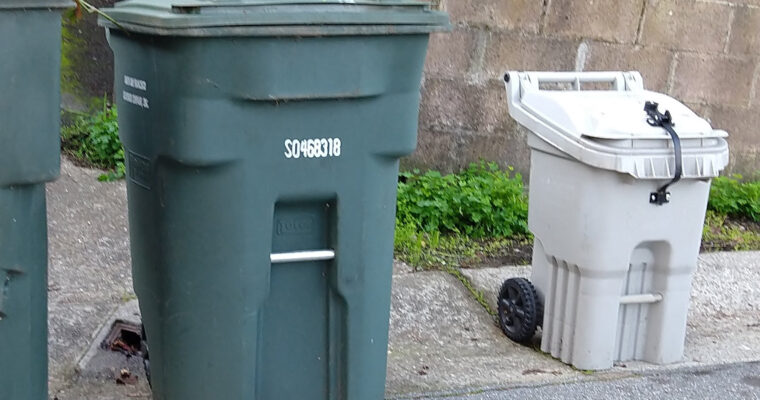
As a gardener, the new law that makes it mandatory for homes and businesses to separate food waste from trash is exciting to me. All that food and yard waste that was once going to a landfill (where it would compost anaerobically, creating methane) will …
Just as many gardening blogs, books, and general advice focus on the majority of the country where they have this thing called “winter,” so do Social Media trends. I keep seeing posts and articles on LOCAL Facebook groups giving helpful advice on how to “save” …
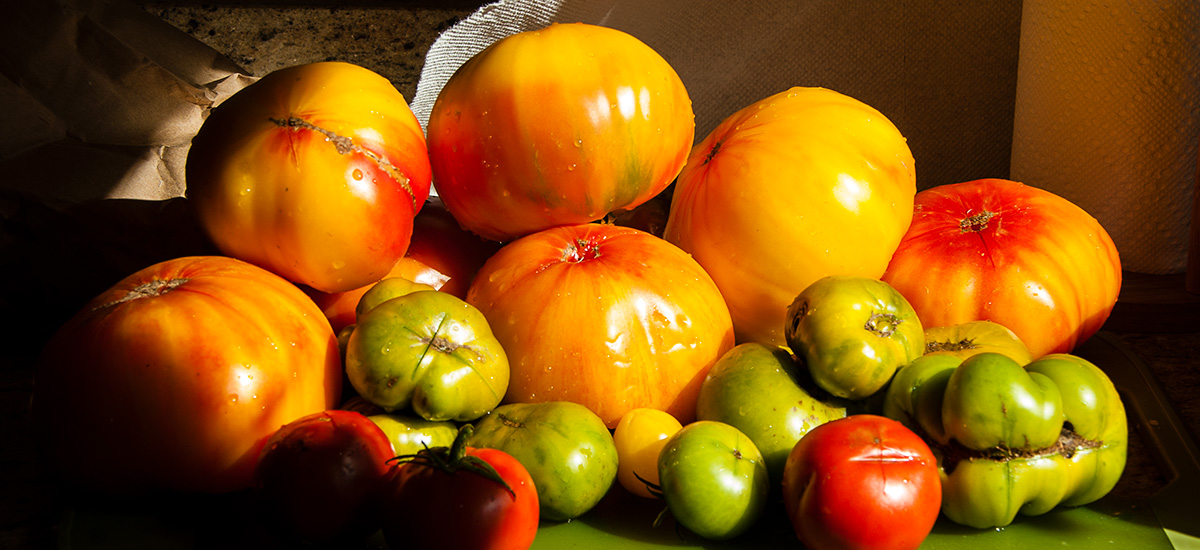
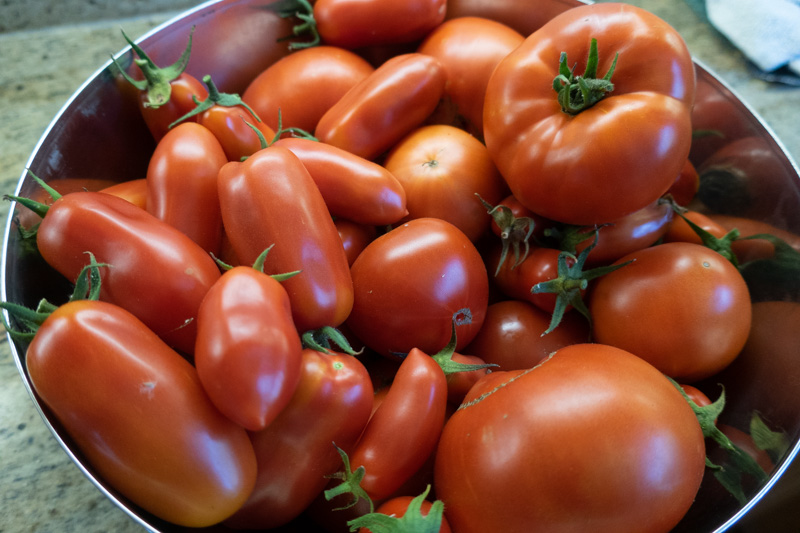
It takes what feels like a million years to get 1 ripe tomato, and then suddenly my vines are heavily laden with red, ripe beauties.
Once you’ve had your fill of salsa, pizza, spaghetti, chili, and Caprese salad (or your heartburn needs a break), what do you do?
Give them Away
Give away tomatoes to your friends and neighbors. Cultivating that sense of community is always welcome. Of course, if you left the tomatoes on the vine a touch too long and you aren’t sure your neighbors enjoy flicking ants off overripe fruit, this may not be the best thing to do.
Can Those Tomatoes
I used to do this. I did. I spent the time parboiling the tomatoes to peel the skin and then added citric acid to each carefully-filled hot sterile jar and full-on pressure-canned many jars of tomatoes.
It’s a ton of repetitive, time-consuming work. And in the end, you get long-lasting shelf-stable tomatoes in jars…that are pure mush when you go to use them. Home canning does not improve on the texture.
Needless to say, I don’t can my tomatoes anymore.
Freeze Those Tomatoes
This is what I do now. It’s faster, easier, and needs less special (or, at least, less specialized) equipment.
A wonderful site–homegrown tomato sauce, ready to freeze for recipes for months to come!
I stem and roughly chop (like into 4 pieces) the tomatoes.
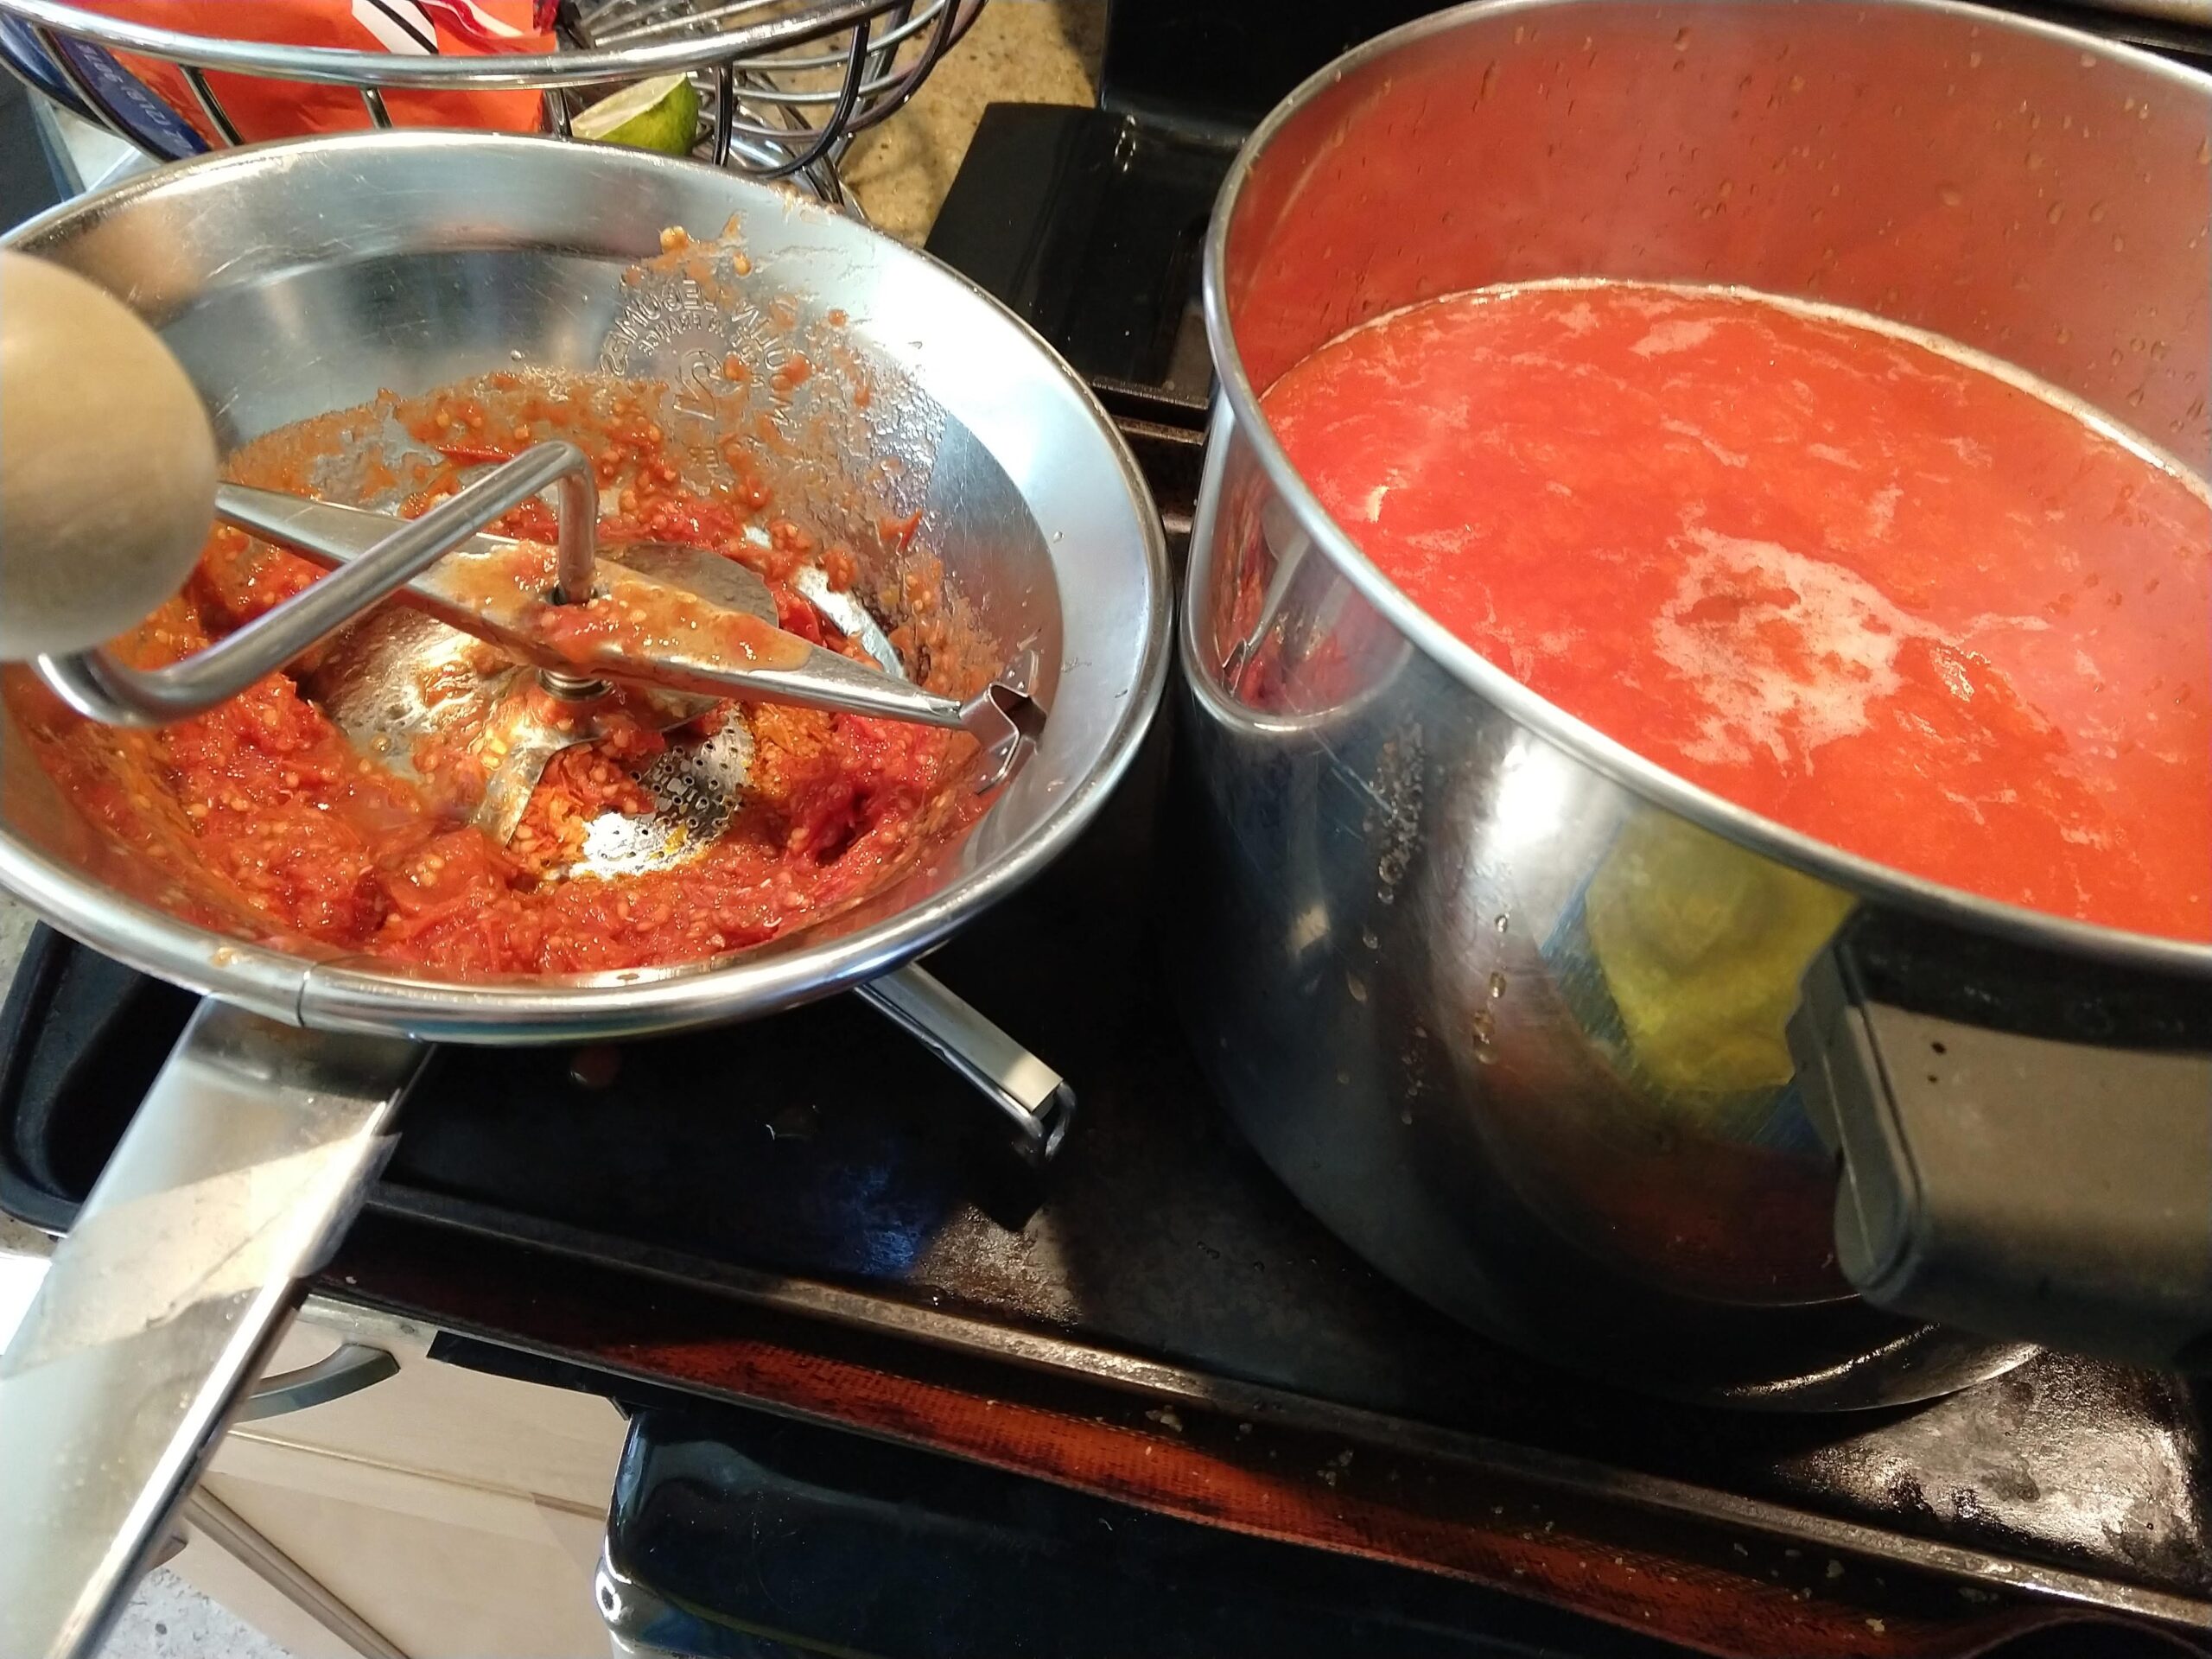
I cook them until they break down and the skins are mostly off.
I run them through a food mill to remove the seeds and skins (my kids will not stand for tomato skins).
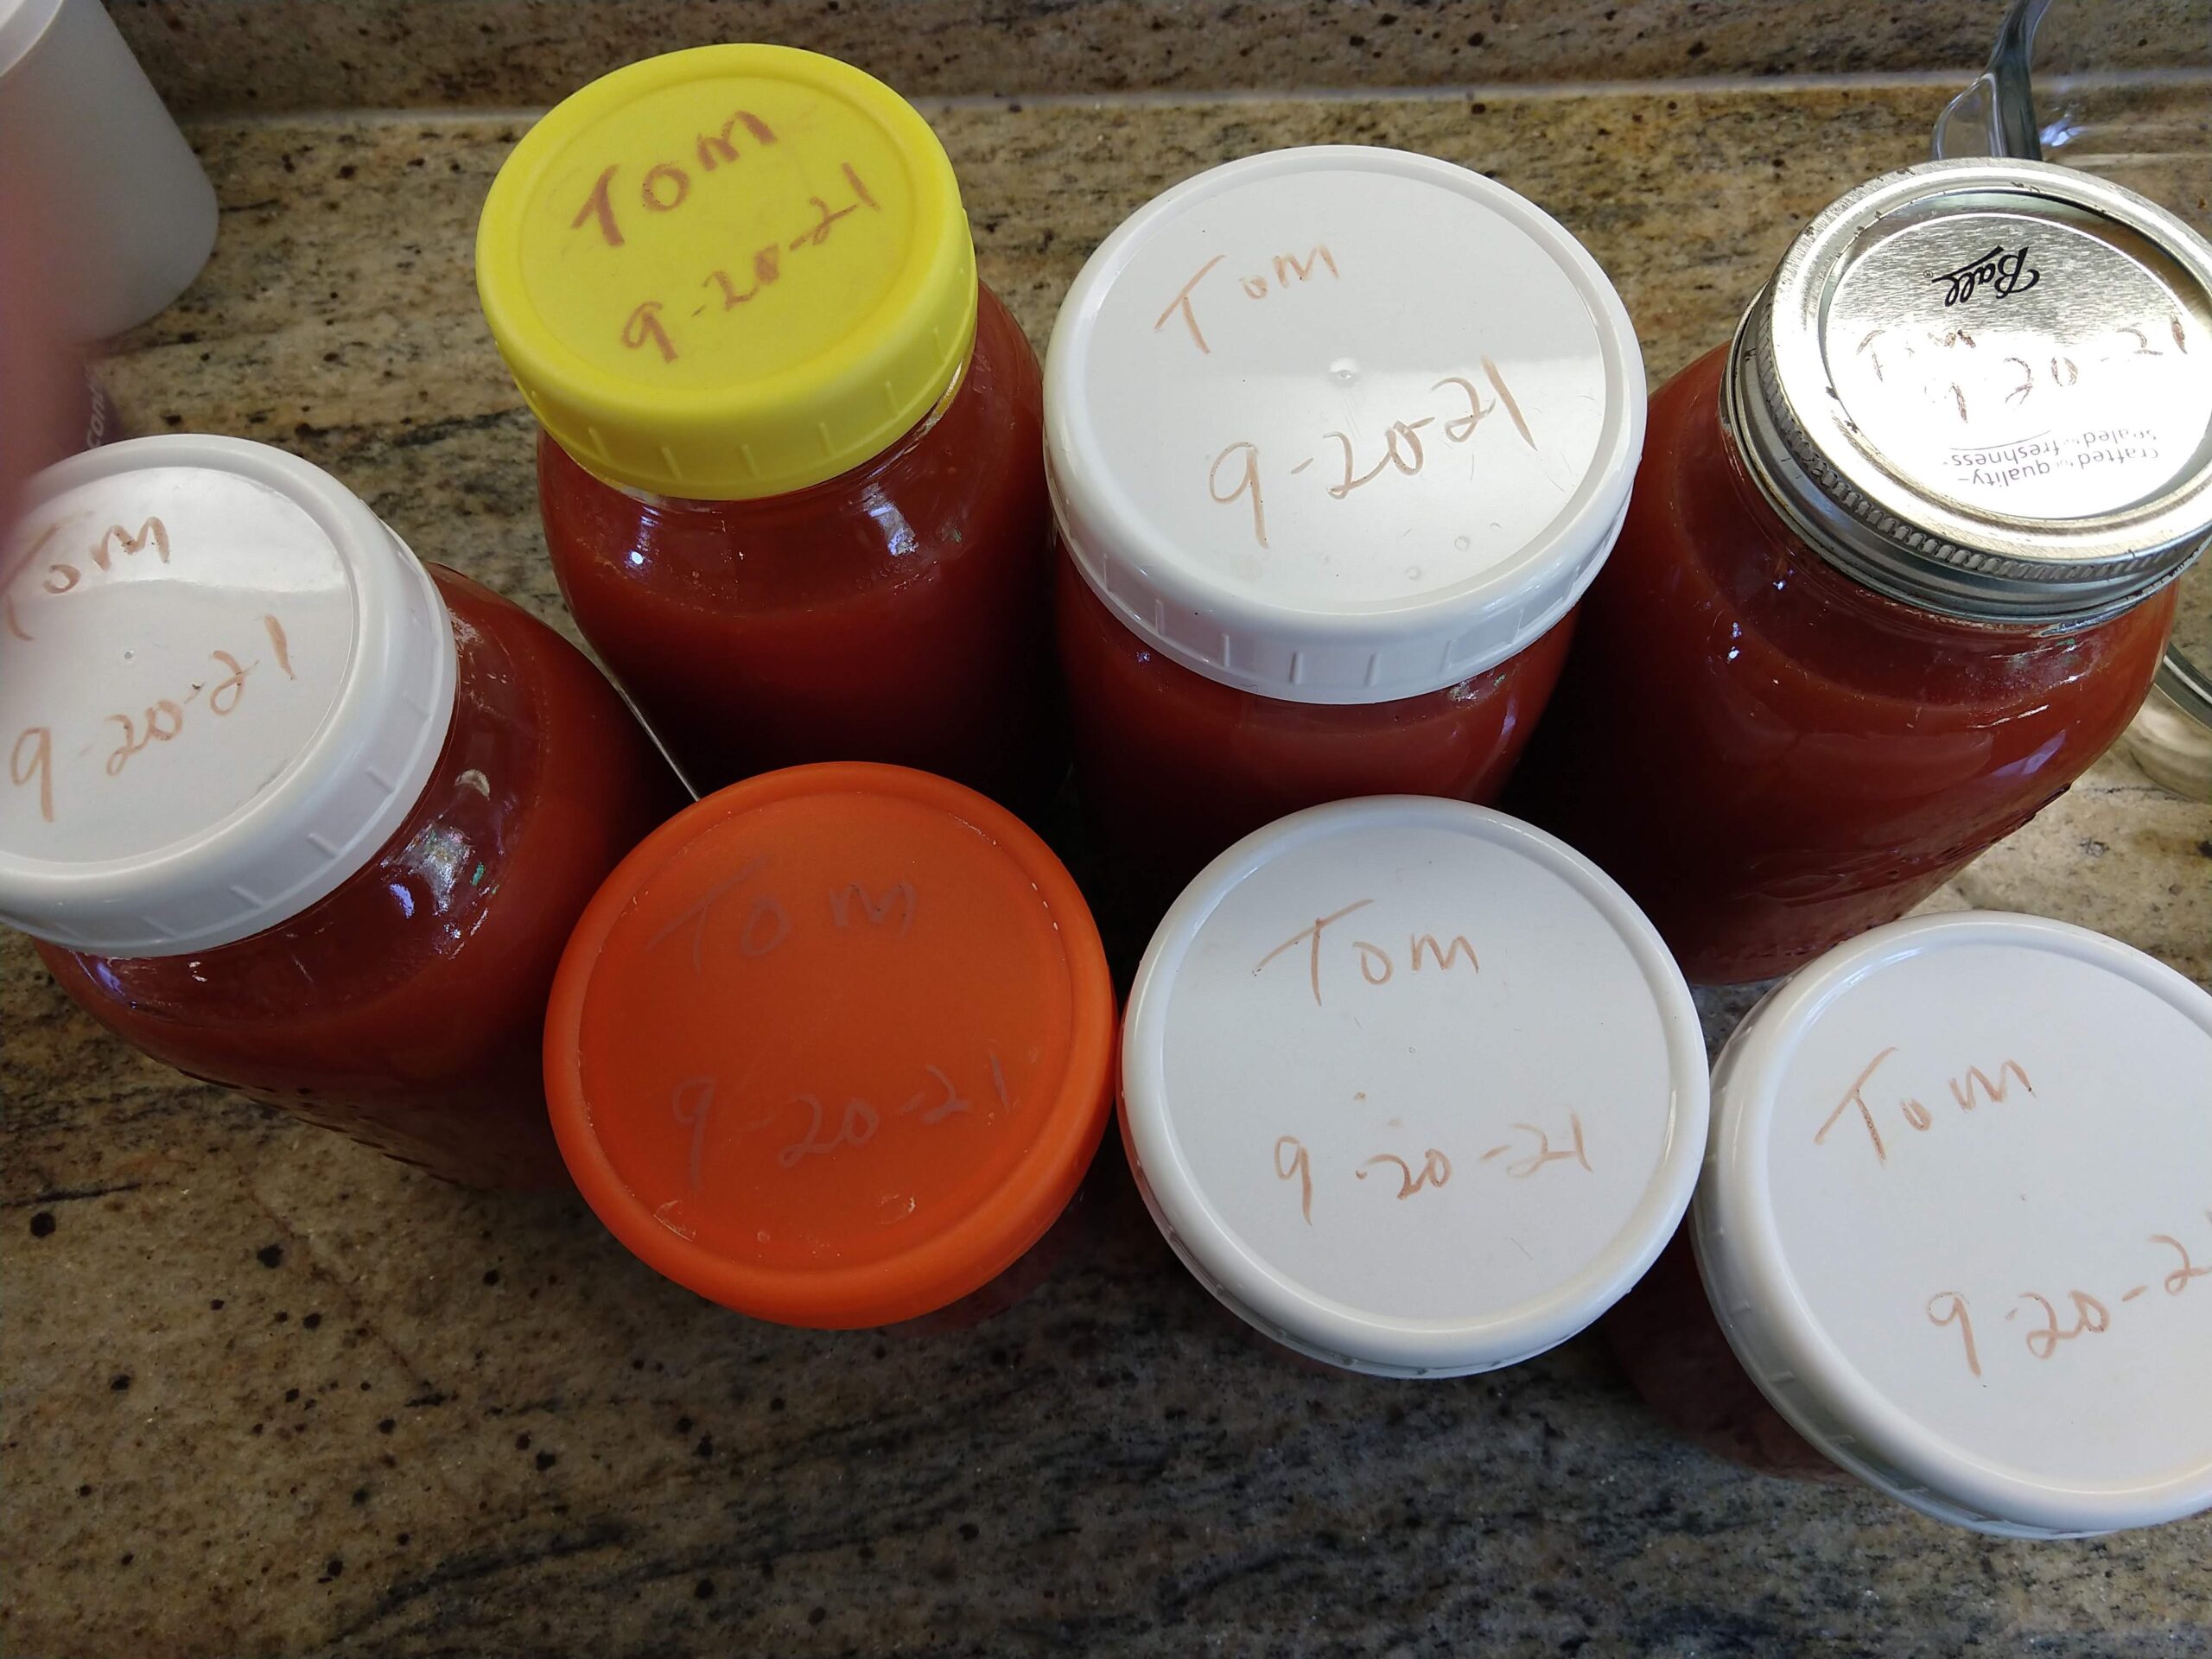
I put them into canning jars, add lids, and then freeze.
My old-school food mill on the left has the skins and seeds. Not much waste, and over a gallon of smooth tomato sauce on the right.
A few things to consider if you want to try freezing plain, milled tomatoes:
There are plastic reusable canning-jar lids that work well for this and other Mason jar storage purposes. They have them seasonally at Target and you can also check out these leak-proof lids at MasonJars.com
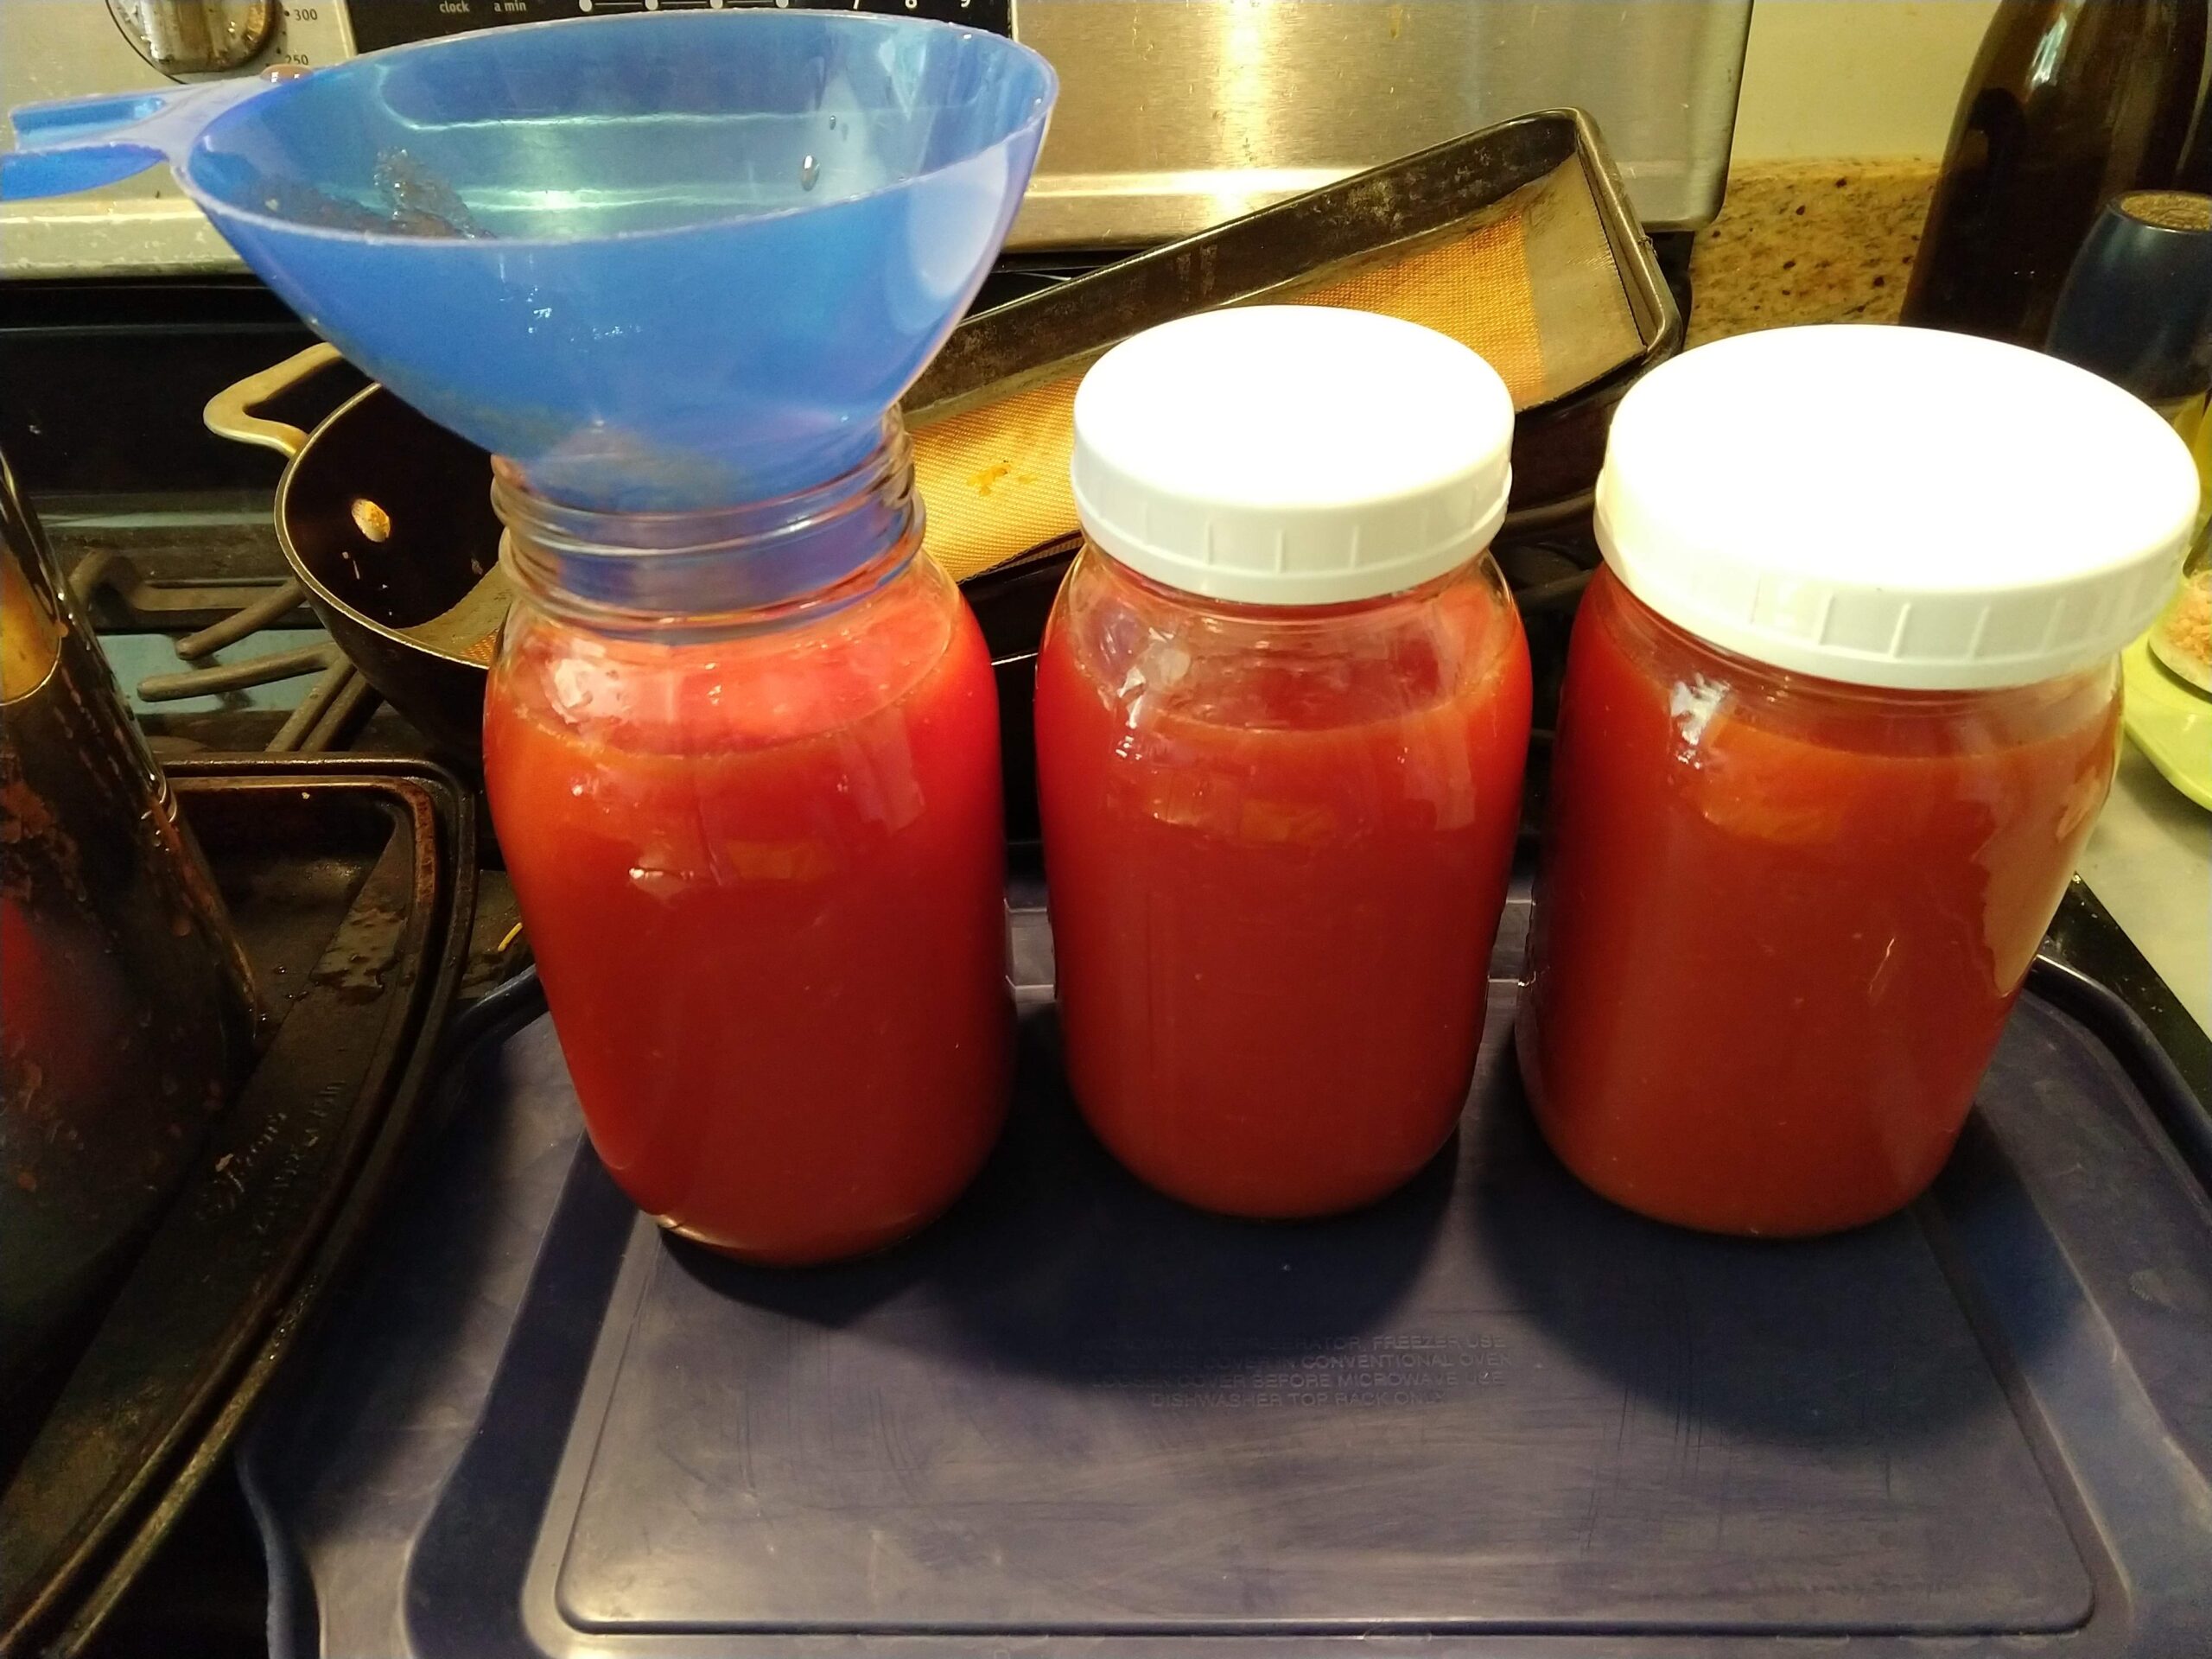
Wide-mouthed straight-sided jars are recommended for freezing so that frozen material will not expand and break the curves of the rounded jars. I use both kinds of jars because I like to live dangerously! But also, I fill the rounded jars with less liquid and freeze them first in my normal freezer before adding them to our deep freeze.
A canning funnel (like my blue one below) is ideal for filling jars (go figure!)
You can also freeze roasted pumpkin if you have an abundance, which is great because you actually CANNOT safely can pumpkin at home (it’s too dense)
Dry-erase crayons are great for labeling jar lids–the writing stays unless you use some elbow grease, so they don’t get wiped clean by accident the way dry erase markers would
If you cook the milled sauce down and reduced it enough, you’ll end up with tomato paste, which can also be frozen. You should freeze it in smaller servings, depending on how you use tomato paste, like 4-oz jars or in an ice cube tray
Filling my storage jars with tomato sauce. Notice the small-mouth rounded-shoulder jars have less sauce inside than the wide-mouth smooth-sided jar.
There are a few pleasures in gardening that really make it feel worth all the work. Harvesting a huge batch of fat, happy potatoes is one. Picking up a cured gourd and finding it whole and hard and ready to be made into whatever project …