Assembly and Review of the OGrow Deluxe Walk-In Greenhouse
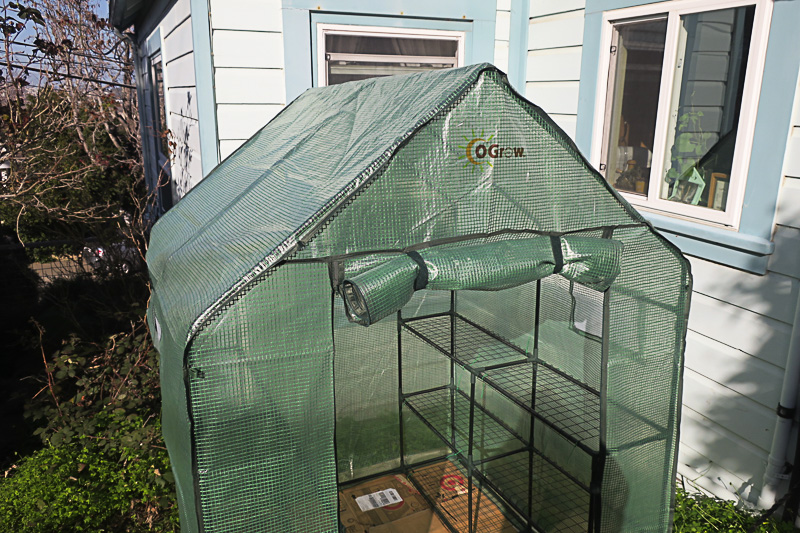

The OGrow Deluxe Walk-In Greenhouse (like these) was a Christmas gift, and I assembled it in February. It has been serving as a vegetable seedling grow house and greenhouse for some tender succulents since then, and I’m ready to give my opinion of it in detail.
Why buy a Greenhouse?
Living in the Bay Area in a sunny zone, a cold frames and greenhouses aren’t really necessary to grow plants early in the season. Our growing season is very long. But, in a foggier area, the greenhouse could help start plants outside earlier with the added warmth that builds up throughout the day in a greenhouse. In my case, I wanted to start seeds without the use of lights, and without taking up precious space in my already crowded home, as I usually did each spring.
Why did you choose the OGrow Double Greenhouse?
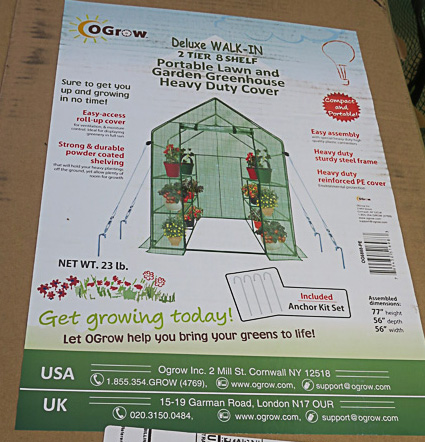
There are many greenhouses that look like the same exact product, but use a sticker to brand themselves. This is one of them. There are many out there available on Amazon.
I was looking for a walk-in greenhouse, with ample shelving and with the slightly shielded exterior plastic. I knew that the plain, clear plastic would be way too hot in sunny Brisbane.
Assembly
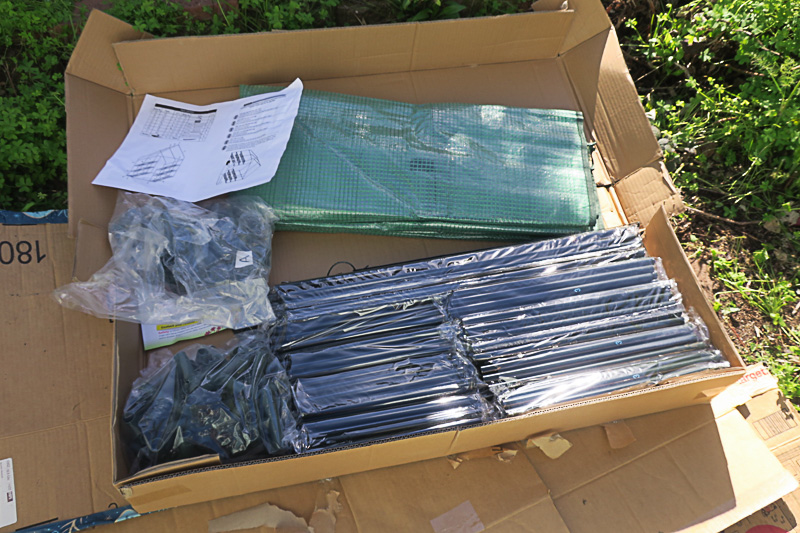
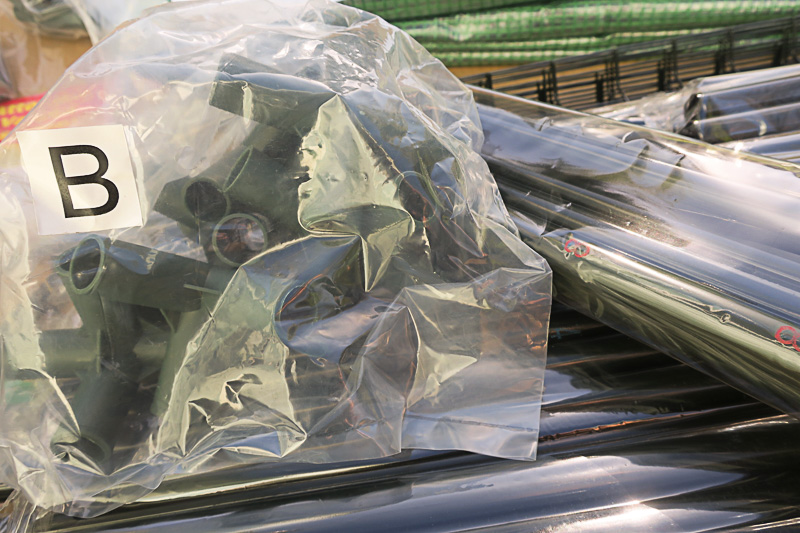
The contents of the box were clearly labeled. Each type of connector was in a labeled bag, and the instructions referred to them by letter or number, making it easy to find the right pieces. But, the instructions were brief and not 100% clear, so if you don’t like assembling furniture generally, you may want a helper to lend a hand and help figure out the more tricky parts.
The instructions were in steps that identified the pieces needed for that step, and then the procedure for that step. The greenhouse is built from bottom to top, and generally makes sense as you go. If you have weeds or grass underneath the area you’re placing your greenhouse, be sure to cover them up before you get started. It also makes kneeling to fit things together easier as you go.

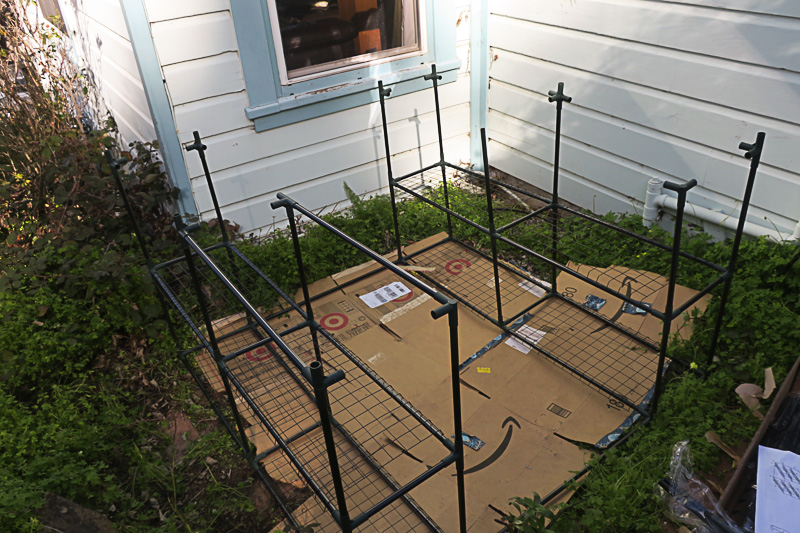
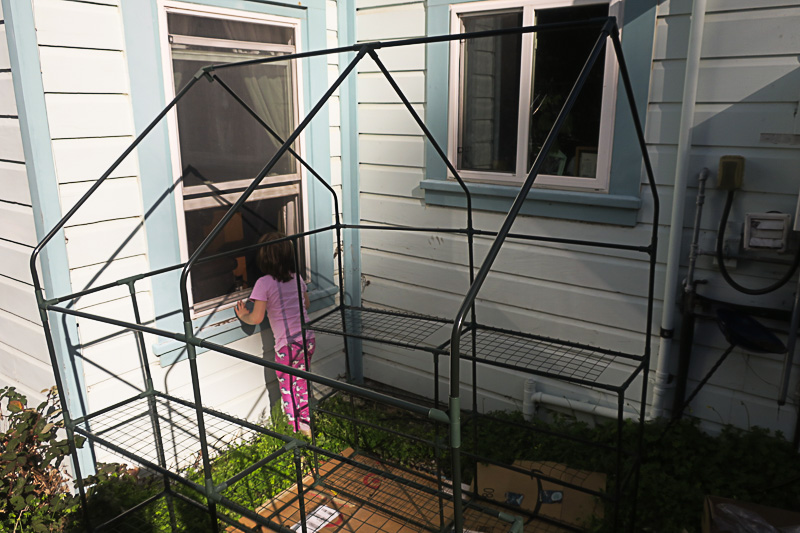
You will need to pick up the whole greenhouse frame and flip it on its sides to fully fit the roof pieces together. The frame is not heavy, but it is awkward if you are constructing it in a tight place like the tiny patio I was using. Also, getting the pipe pieces to fit fully into one another did take some strength, so be aware that if you cannot put real weight on things, you may need someone to help you assemble the full greenhouse. Being tall can also help–I’m 5′ 8″ and assembled the whole thing myself, but the roof pieces involved some tippy-toe action.

Once the frame is assembled completely, you will use the included zip ties to attach the racks to the frame, four per rack, in the corners. This seems a little wonky to me, and as I plan on taking it down for the remainder of the summer, this means I will need to get more zip ties when I assemble it again next year. I may try to find a better, reusable solution for attaching the racks. And yes, you MUST attach the racks. They sit slightly high when placed on the frame, so if you left them unattached, I can see a lot of accidental hip-bumping leading to plants on the ground.
Putting the cover on is a hilarious reminder of how little dignity we humans truly have. The instructions advise opening the zippers first and rolling up the door, which was certainly necessary. If it’s a hot day, you may want to leave this step until evening, as the greenhouse does its job well, even with the two windows and door wide open.
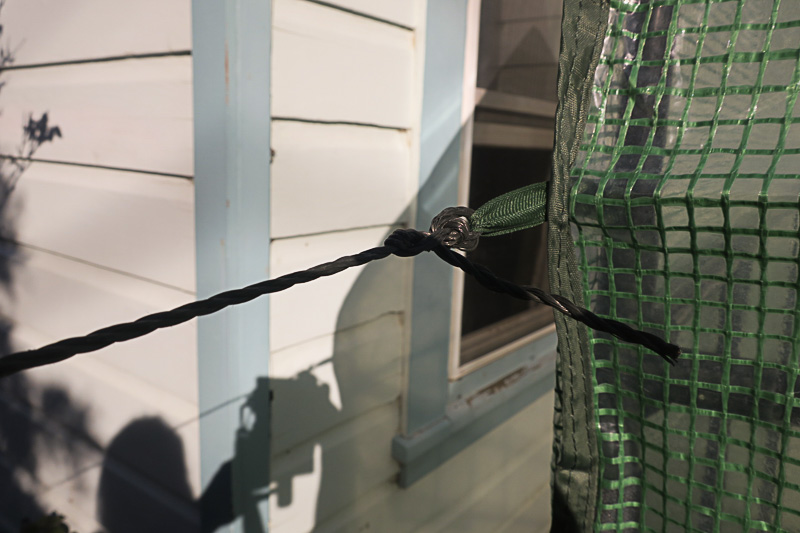
Finally, you’ll use the attached ties and the loops in the four corners to attach your greenhouse to the ground. The kit comes with some cute little tent pegs that might work in a complete vacuum or indoors, but in high-wind Brisbane, they are totally useless. I tied my greenhouse to my house (two corners), an outside structure (one corner), and a particularly sturdy rose bush (one corner). Make sure the ropes are taut and try to shake the greenhouse yourself BEFORE saying you’re done, and DEFINITELY before you add any tender plants. My greenhouse tie-ups have held up well, and I haven’t had too many issues after strong windstorms.
Review
On the whole, it has been very convenient to have an outdoor greenhouse. I can transplant in it or just outside it without worrying about making a mess. Previously, when I used lights indoors and I needed to pot up tomatoes, for instance, I had to move the whole shebang outside, pot everything up, and then bring it all back. I like this much better. I can also store things like bags of potting soil and vast quantities of perlite in the greenhouse and not worry about lugging them from one part of the yard or house to another.
It gets hot inside, so I tend to do my greenhouse gardening in the early morning or late in the afternoon to evening. For the most part, the plants are happy and do not dry out anywhere near as fast as they would in the open sun. I did learn the hard way that it is too hot for newly transplanted cuttings, which turned into dried herbs in an afternoon. Seedlings that grew up in the greenhouse, however, really enjoy the extra heat.
One benefit I hadn’t even anticipated is how easy it is to harden off from the greenhouse to outside. Even though I got the shielded outer covering for the greenhouse, these plans have known full sun their entire lives. This means when I put them outside to harden them off, it is nowhere near the shock that plants that grow up indoors, or under lights, experience.
The greenhouse is a weird mix of spaces, an outdoor-indoor space, a clean and yet dirty space, and it has been excellent for my garden this year.
How has it held up?
Because I plan on taking the greenhouse down soon, and because I’ve seen what prolonged sunlight can do to plastics and other materials, I have been especially gentle with the zipper door and the outer covering of the greenhouse. However, the wind has not been very kind, and yet I see no signs of tearing or stitches coming undone. The covering is well intact, and I think it will hold up for several more seasons. I have noticed some discoloration due to the sunlight on the edge stitching, but I didn’t buy it for its looks. I’d say it has help up very well.
What’s also nice about this greenhouse is that they sell replacement covers, so even if the sun, wind, or an animal destroyed the cover, I could get a new one without purchasing a whole new greenhouse kit.
Would you buy it again/recommend it?
I think that if, like me, space is at a premium in your home and you want to start seeds early, a greenhouse like this would definitely be helpful. The price is right as well, as it is not as fancy as some of the more structurally sound green houses, and yet it worked just fine for what I needed it to do. I’m growing seedlings, not hosting garden parties.
There are also other sizes of greenhouse that I considered, and for even smaller spaces the smaller version of the same greenhouse would be just as useful, but smaller.
If you are looking for the same greenhouse, this one below is the closest to the one I have, though you will find them under various names. They seem to all be the exact same product.