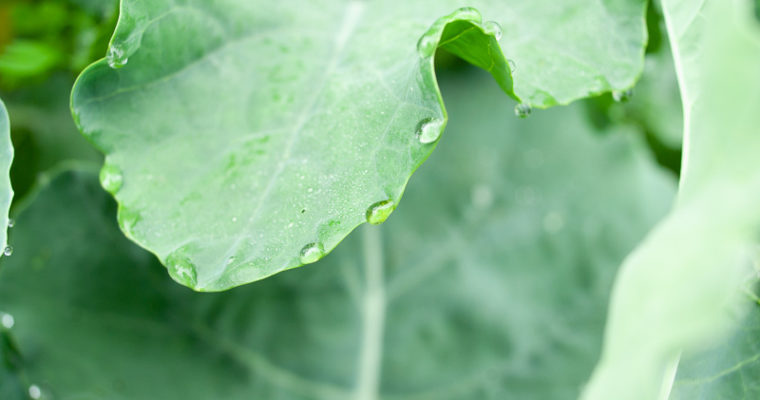
In the heat of the summer, spring-planted crops like tomatoes, peppers, corn, and cucumbers are going nuts. It’s hard to believe it’s already time to start thinking about fall planting! Cole crops like broccoli, cauliflower, and kale need to be planted now or in September …
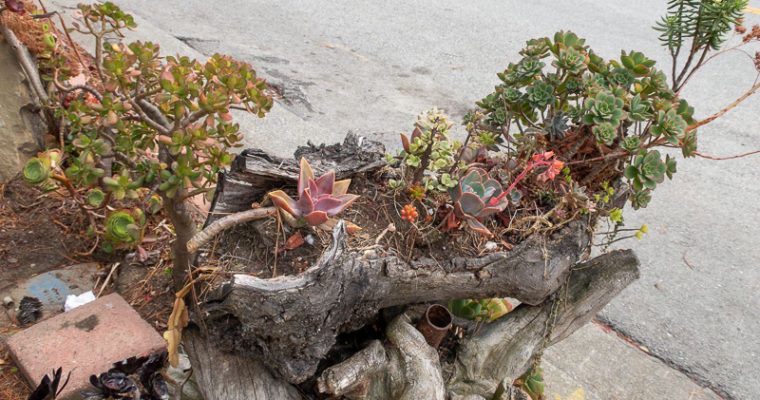
Space is tight in the Bay area, and many of us, even those who love gardening and growing things and all things green find that we do not have the vast open space that we would like for our gardening. We are lucky in that our …
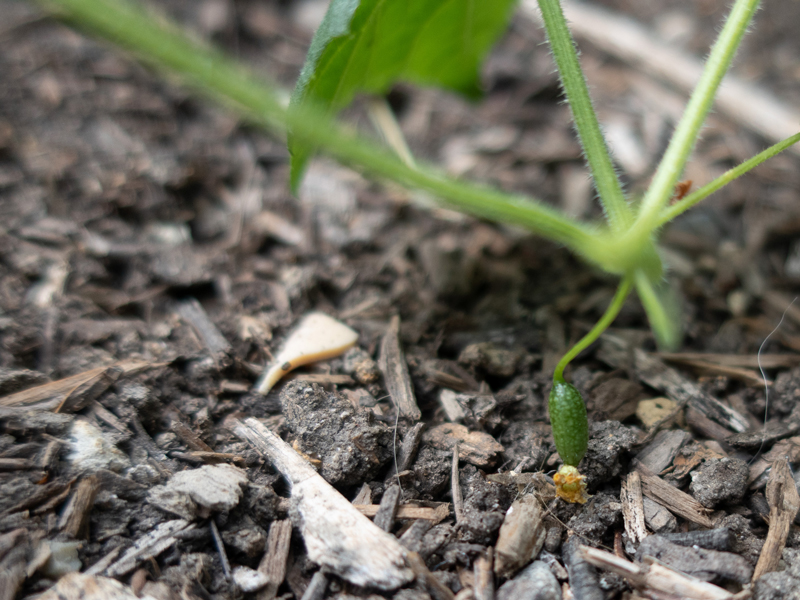
Depending on your microclimate, the days can get pretty hot, which some plants just love. Corn and peppers are really thriving, and you may be seeing some teeny-tiny mouse melons (also known as cucamelons) (squee!), but if you’ve got your eyes on a fall harvest, it’s time to get baby brassicas in the ground or start them indoors.
This list is based on my planting calendar, which is a great reference when you are choosing what to plant and what to prepare for each season. I’ve included sources for each plant and some notes to better help you in planning your garden this year.
Plant seedlings outside (FOGGY AREAS) or start seeds indoors to plant outside in July (FOGGY AREAS), or August through September. Sources: Botanical Interests
Celery
Plant seedlings outside or start seeds indoors to plant outside in July (FOGGY AREAS) or August. Sources: Botanical Interests
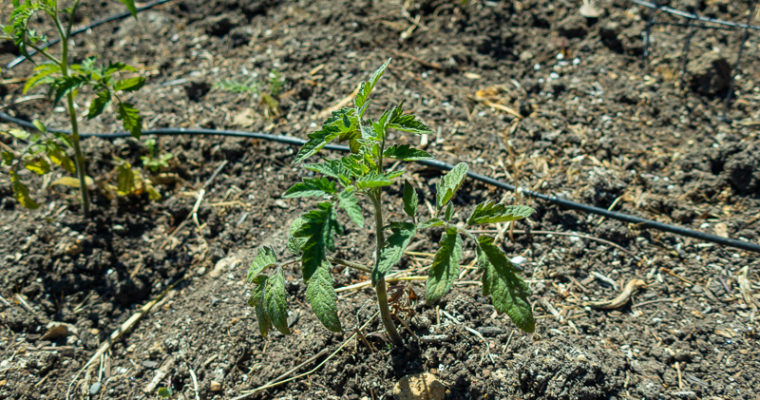
Summer is here! Some of those springtime plants might be producing already, but it is still a great time to plant in the garden. It’s also not too early to start prepping for your fall garden plants. This list is based on my planting calendar, …
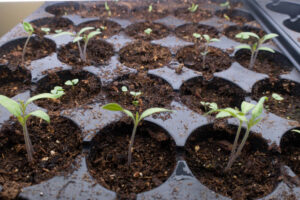
If you are new to gardening, you probably know that getting some seeds started indoors is a great way to ensure your plants get a healthy start where disease, weather, and pests will not hinder their beginnings. While this is true, there is a real …
Do you brew? Home brewing is a great mix of cooking and socialization, great for shy folks (like me!) who need an excuse to invite people over. And what’s more fun then making beer while also drinking it, with friends?
If you brew, you know about hops. They have all sorts of interesting names, like Willamette, Cascade, and East Kent Golding. Each hop variety is known for certain aspects of its flavor (e.g. grassy, spicy, floral, citrusy), and those aspects are different depending on when you use the hops in your Brew. There’s hops added for bittering early in the boil, for flavor later in the boil, and for aroma at the very end of brewing. You can even add hops to your wort after it has cooled, usually sometime during fermentation, known as dry hopping. These imbue an intense flavor and aroma of fresh hops into your beer.
So, if you brew with hops, why not grow your own?
Benefits of Growing your own Hops
Hops are not expensive if you brew infrequently. But, if you brew a lot, or, if you make the same recipe over and over again, you might find that $2-$5 per ounce of hops is a bit steep, especially if you use a lot of hops in your beer (IPAs, I’m looking at you!).
Growing your own hops, you can expect a few ounces of hops flowers in your second year, and, as the rhizome grows, more and more hop vines will grow you more hops.
Hop vines are also fairly easy to grow, require little to no attention or fertilizer, and grow quickly (up to a foot a day). They’re not too picky about soil as long as it drains well, so if you have a nice sunny spot in the Bay area with enough room for the eventually wide root system, you should succeed.
How to Order Rhizomes
Hops are grown from rhizomes, which are like a small piece of root that is starting to sprout new stems. They are sold at one time of the year each year, between February and May, which is conveniently the right time to plant them in the Bay Area.
While I have started to see hops available from some planting companies, sometimes they do not even identify the variety of hop, which makes it completely useless for brewing since hop flavor aspects vary so much. Be sure you know what kind of hop rhizome you are buying, and track where you plant it in your garden.
The one garden distributor I would recommend is Territorial Seed Company, which even offer a four pack of hops that will give you a good range of flavor for your beers.
Brew supply companies are probably the best supplier of hop rhizomes.
More Beer, located in Los Altos, will take orders early in the spring and call you when they are ready for pickup.
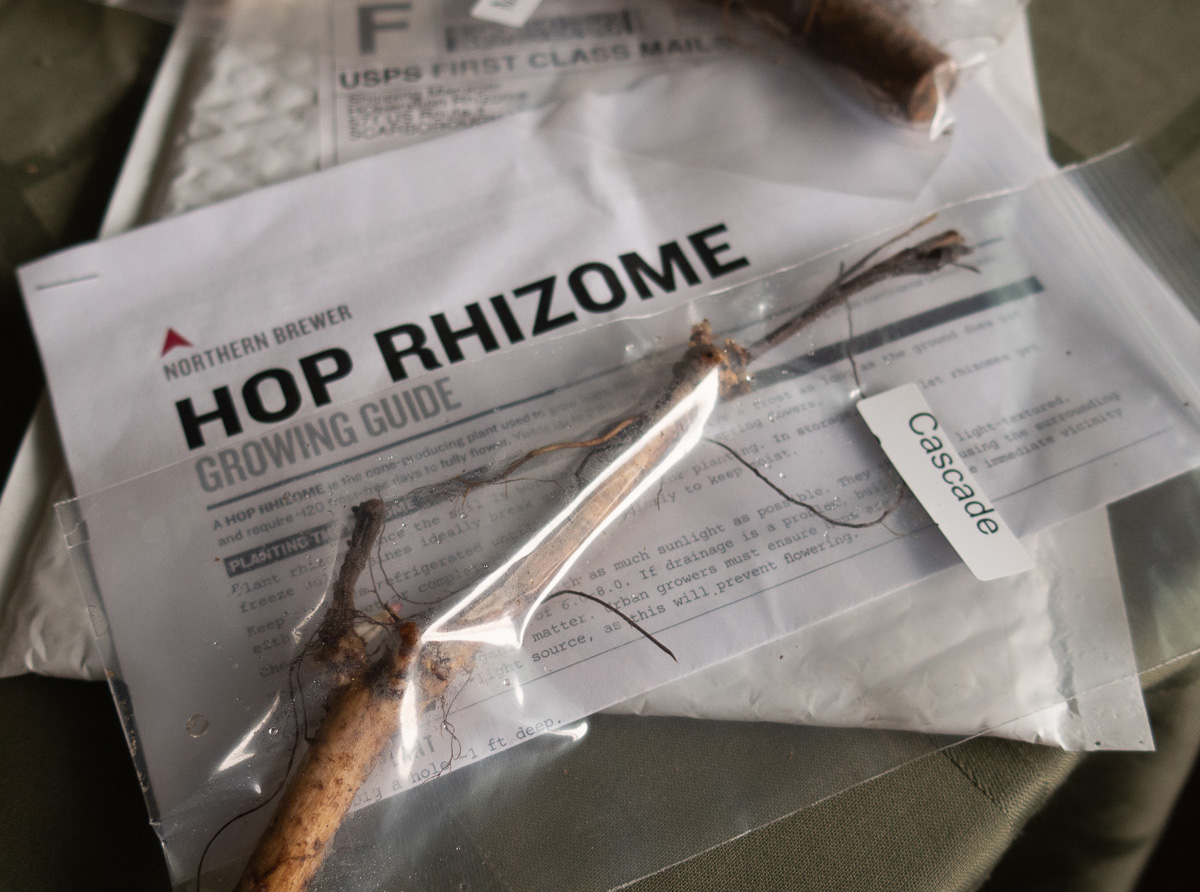
Northern Brewer, online, will also sell hops seasonally, with a two-rhizome minimum order.
I’ve purchased rhizomes from all three of these suppliers and have found the quality to be excellent, the instructions that they come with to be perfect, and really can’t complain about any of them.
If your hops arrive and you are not quite ready to plant them outside yet, you will need to store them in your refrigerator. Please make sure that there is a small amount of moisture inside the bags that they came in before you put them in the fridge. If you need to leave them there for a very long period of time, make sure that they do not dry out, and that they do not start to grow mold.
How to Plant
Rhizomes need to be planted in healthy, well-draining soil, about 4 in below the surface. You can mix some general fertilizer into the soil before you plant, but do not overdo it. I like to just mix in some compost.
When choosing the space for your hops, consider the following: hops need to set up a significant root system (after a few years), so small pots will not work long-term, but larger ones, or a half barrel, should do fine. The area should be in full sun. And, hops need something to grow on, like a fence or trellis. They can get really long, but die back completely in the winter to the ground.
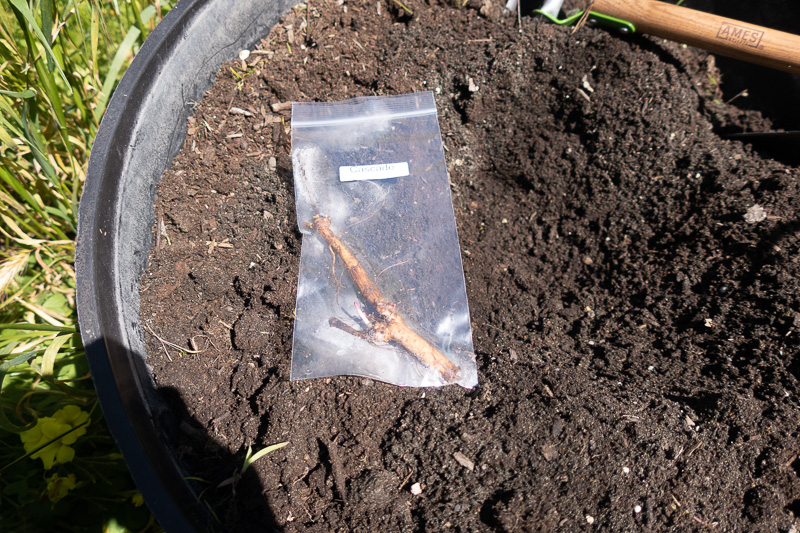
My Cascade rhizome next to the hole dug for it in a half-barrel planter.
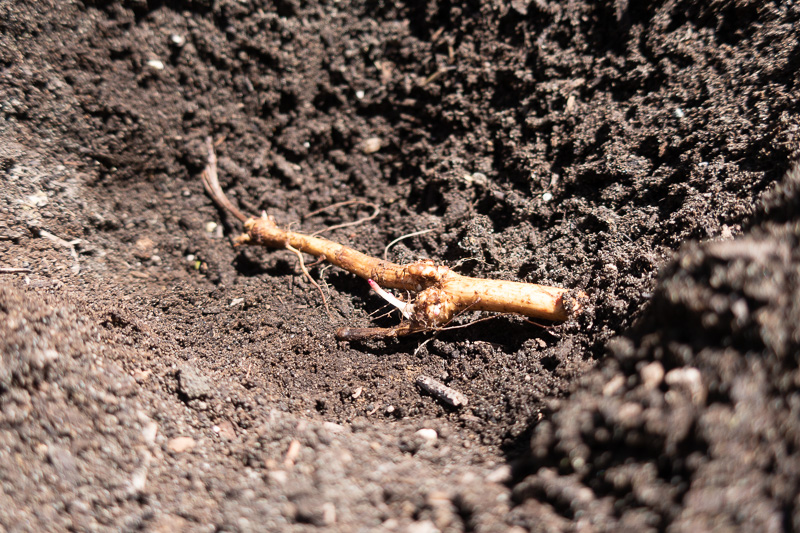
Ideally, you will lay the rhizome horizontally in the soil, with the shoots facing upward. If the shoots are sending roots in a different direction, you can also set it up in a different arrangement to make the shoots point upward, or still go horizontal because the shoots will change direction as needed.
Detail of the hop rhizome showing the shoots facing upward. It is being planted horizontally.
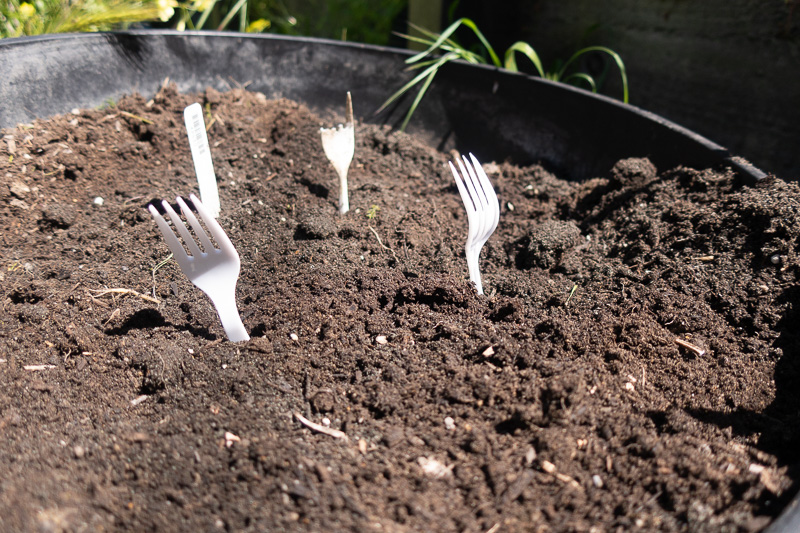
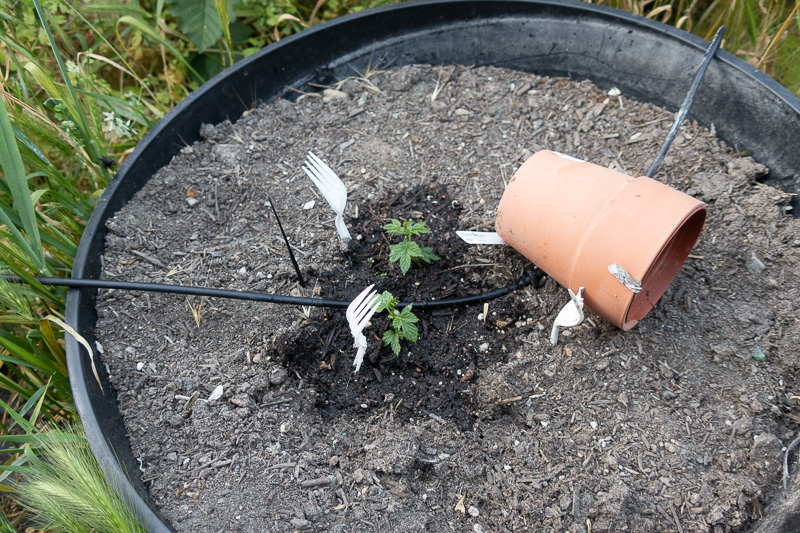
I recommend protecting the area you planted your rhizomes in from digging creatures like raccoons and cats, by placing something over the soil like bird netting, a tomato cage, or forks sticking up out of the soil. I’ve lost two rhizomes in my time, once to a curious child (not my own), and once to some curious raccoons. Now, I don’t take chances.
Forks surrounding the rhizome planting area to protect the newly turned soil from digging critters like raccoons and cats.
Keep the area you planted the rhizome in watered, don’t let it dry out completely, but don’t soak the area too much. You should see green shoots as soon as the weather is uniformly warm for a few days in a row.
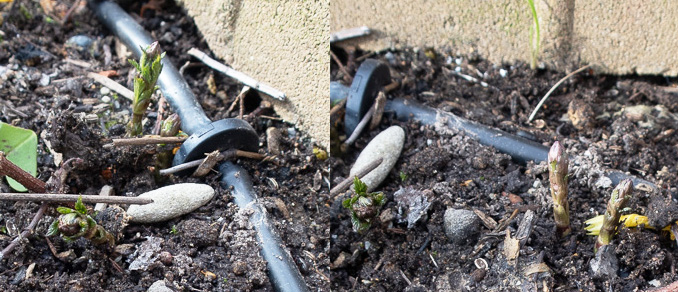
Detail of hop vines sprouting. These are second-year vines, but new vines will look similar.
New hop vines from my Cascade hop rhizome.
How to Care for Hop Vines
Keep them watered by watering frequently and lightly, make sure the roots have room to grow, and give them something to climb.
In the the first year you plant, the vines will get to be several feet long, but you will see no flowers. In the winter, the leaves will die, and the plant itself will disappear into the soil. Don’t freak out! This is normal, and your plant is still there, and still alive, beneath the soil.
In the spring, you’ll start to see tiny shoots appear again, like miniature asparagus. Soon, you will notice that you have more vines when you did last year. Some ill be second year vines, some will be first year, as your rhizome has getting birth to more vines than before.
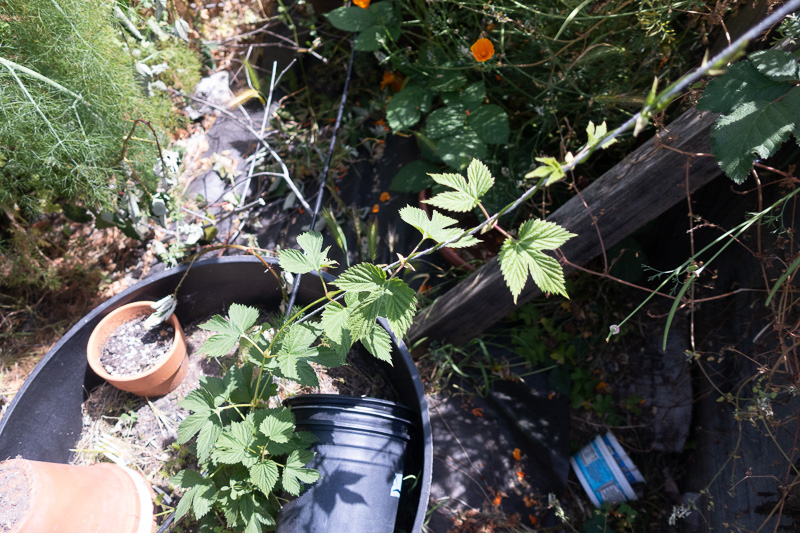
Second-year hop vines growing quickly up to the trellis.
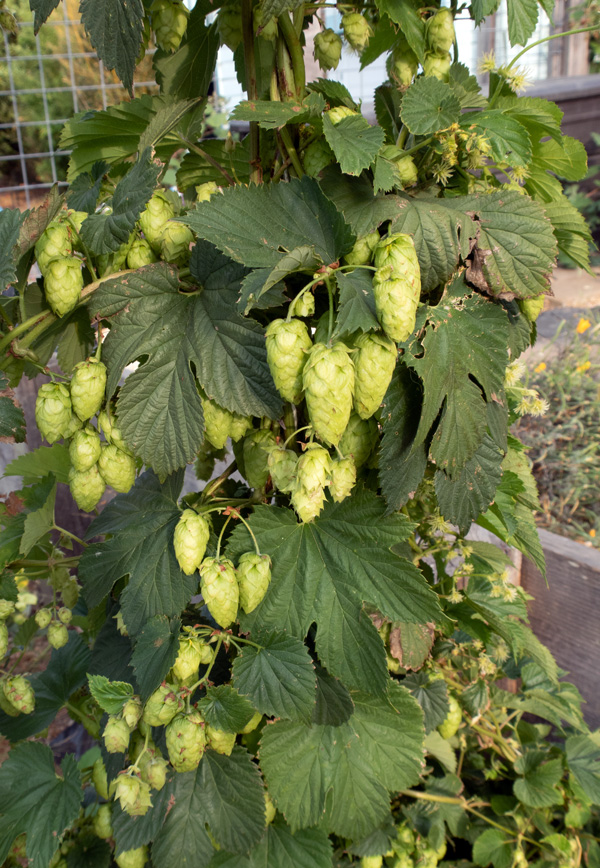
On your second year vines, you will see the telltale little hop flowers, called cones, in the fall. They’ll be green, and tender, until they are ready for harvest.
Cascade hops in bunches. Not quite ready to harvest, but looking good!
Harvesting and Storing Hops
You will know it is time to harvest your house when they have opened slightly, and you can see the yellow powder, called lupulin, coming out of them. They will also be lighter, and more papery, than they were when still immature. Some will even lighten in color on the vines.
You can harvest by snipping the cones from the vines. Then, you need to dry them fully using your favorite food-drying method before storing them.
Once dried, store them in a plastic zip-topped bag in the freezer and only thaw when you are ready to use them. I recommend weighing your hops and writing the hop variety name, date, and weight on your bags to make it easier to use in your recipes.