There are tools that I bring into the garden with me, like a shovel, clippers, and gloves. These things are meant to get dirty or wet. Gardens are not “clean” places. For that reason, I find it very difficult to have my reference materials, like …
It’s crazy to me that I haven’t written about this before. I use this tool all the time in the garden, and I’ve mentioned it a few times, but I never just came out and admitted that this item is truly the best thing to …
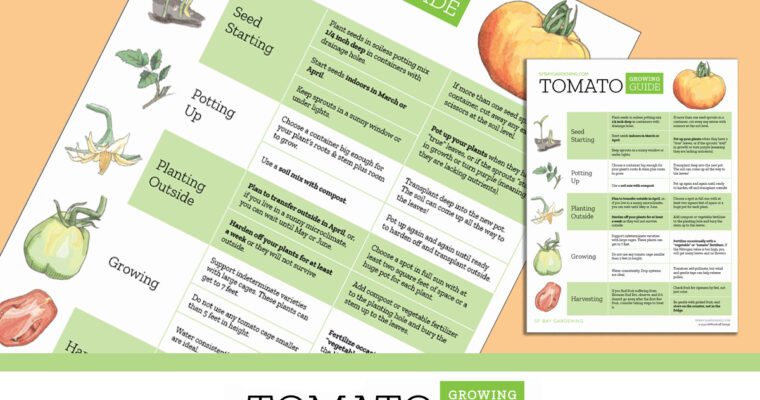
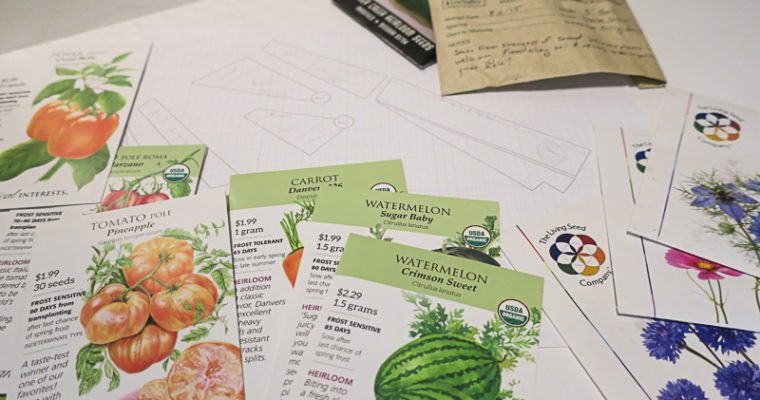
You’ve definitely seen them. At a garden center, or even some supermarkets, you’ve seen those racks of those happy little seedlings in their little plastic pots. Plant starts that are so perfect, so ready, and at only $3.99 each!
But I’m warning you: some of those plants are already doomed.
Plants and their Tolerance for Transplanting
There’s plants that love being repotted or “potted up.” These are plants like tomatoes, pepper, and eggplants, most succulents, and strawberries. They will do great if you buy and plant them in your garden.
And there are plants that will tolerate being potted up, like brassicas (broccoli, cauliflower, kale), mint family plants (basil, mint, sage, lemon balm), lettuce, spinach, celery, artichoke, scarlet runner beans, onions, and garlic. You can buy these as plants and, with care, transplant them successfully.
And then there’s the plants that are not happy being transplanted. They fall into three main categories: taproot plants, vine plants, and fibrous root plants.
Taproot Plants
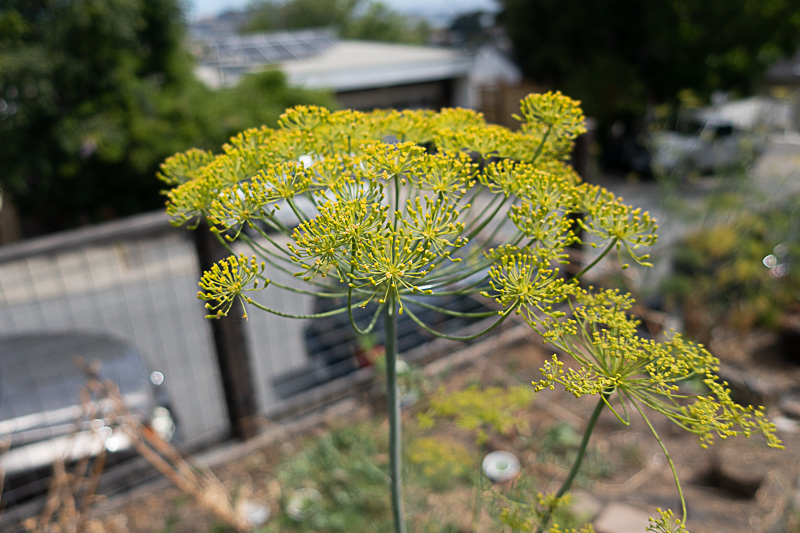
If a plant has an umbrella of flowers like this dill, it is probably in the carrot family and does not like to be transplanted.
These are plants that have a large taproot that the plant needs to survive. On a carrot, this is obvious, but other members of the carrot’s plant family are parsley, dill, fennel (not the evil kind, they will grow back from any piece of the plant, like a horror movie monster), and cilantro.
If you grow these plants in pots yourself, you can possibly transplant them when the taproots are still super tiny, but those plants at the store are already huge–the green parts wouldn’t look good to buy otherwise–so they will not take kindly to being moved. For the most part, carrot-family plants bought at the store will not survive transplanting.
If you still want to start seeds indoors yourself, I would recommend starting seeds in tall containers that can be directly plopped in the soil and that the plant can grow through, like thin cardboard. Toilet paper tubes with removable bottoms may work. And be sure to harden off and transplant soon after germination so the taproots will not be too big when you do it.
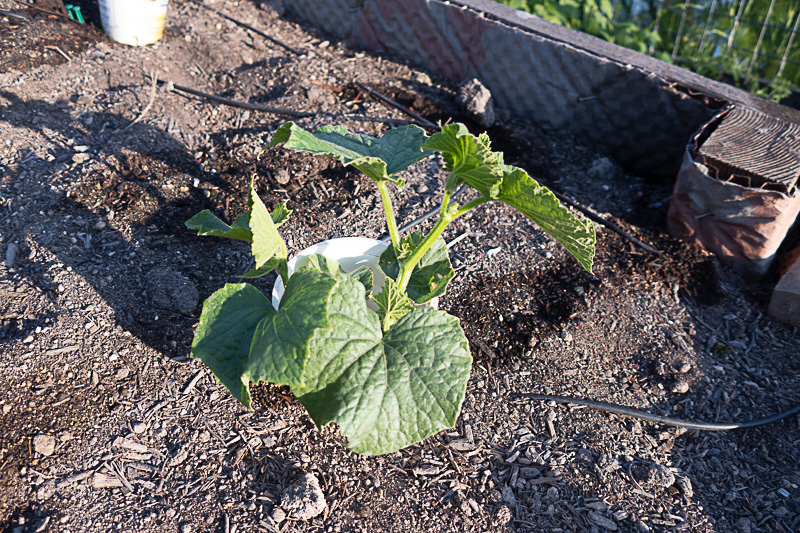
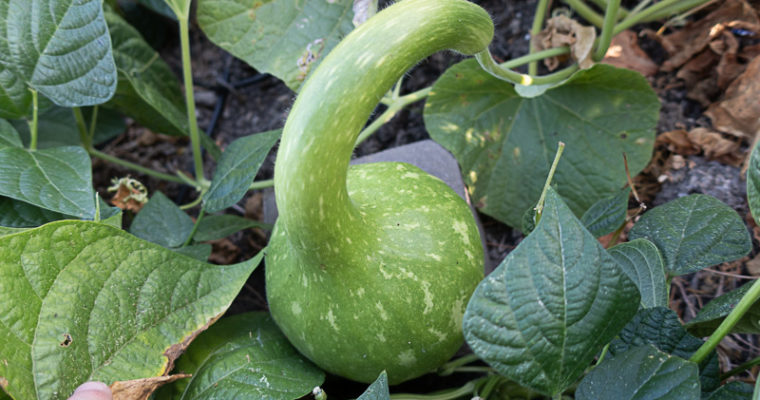
Squash & Cucumber family plants do best when direct-seeded in the ground
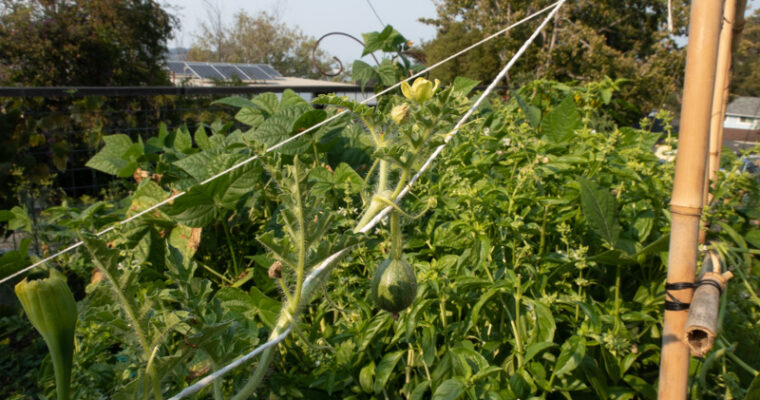
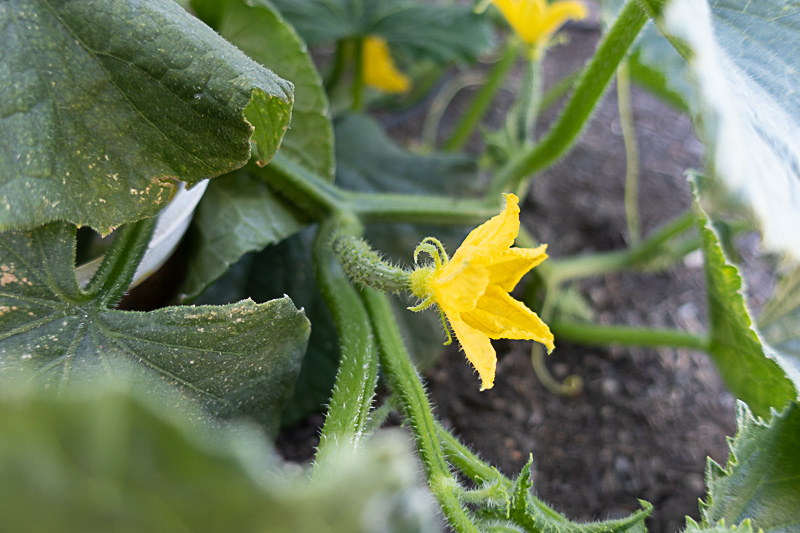
I’m talking about squash, pumpkins, cucumbers, and melons. These are MASSIVE plants that grow from BIG seeds and develop HUGE trailing vines. On the seed packets, they recommend planting them in MOUNDS. Does that sound like they like to be moved? Think of them as the mountains of the plant world–they are steadfast and still, and don’t like taking a walk.
To grow those vines, the plants in these families like to sprout and start sending roots out right away. They need to be strong under the ground to support that incredible growth above ground. So, disturbing these large roots does not go well for the plants. They are not as sure to fail as taproot plants, but great care must be taken when transplanting to ensure survival.
If you still want to purchase plants in this family, choose the smallest healthy-looking plants, and be sure they are in reasonable-sized containers. If they are in 2-inch square pots, leave them, as they will be root bound, no question. Transplant into large holes, gently coaxing the plants out, and do not mess with the roots at all if you can avoid it.
If you germinate these in containers yourself, which can help get a head start in the spring, be sure to plant them in LARGE containers like quart-size yogurt tubs or cut-off gallon milk containers. Or, if you have options for biodegradable materials, like newspaper, do that to avoid any root disturbance. Those hard “degradable” plastic containers sold at garden stores do not always break down, meaning you may transplant only to leave the poor thing root-bound in the original container, so be aware of that.
And, even if you do everything right, some of these plants just will not put up with transplantation. My watermelons this year were lovingly sprouted in paper containers and ever-so-gently transplanted. And, under the same conditions and treatment, one variety survived and the other just failed to thrive.
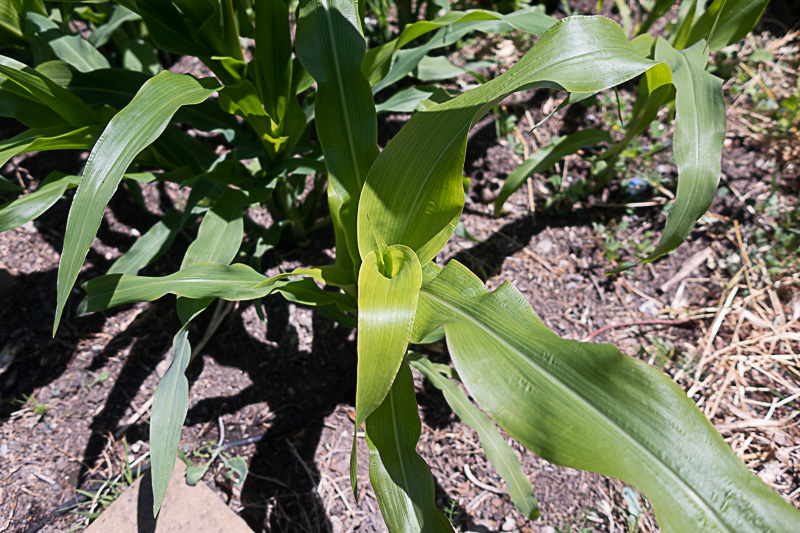
Corn, like this Glass Gem plant, grow quickly do not like to move.
A lot of plants fall into this category, but the most popular garden veggies would be most beans, peas, and corn. It makes me so mad to see corn and beans on sale as plants, because 1. They HATE being transplanted and 2. They are so easy to grow from seed.
These plants should always be grown from seed, in place. They need water and warmth and protection from smart birds, like Scrub Jays, who will dig up and eat the seeds. But then they’re pretty hardy and happy to grow where you put them. And there is nothing more satisfying than seeing a tiny corn kernel become a towering 8-foot plant–I highly recommend it.
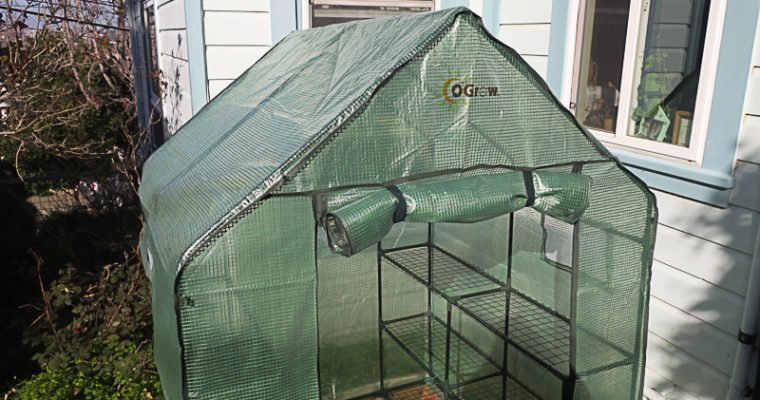
The OGrow Deluxe Walk-In Greenhouse (like these) was a Christmas gift, and I assembled it in February. It has been serving as a vegetable seedling grow house and greenhouse for some tender succulents since then, and I’m ready to give my opinion of it in …
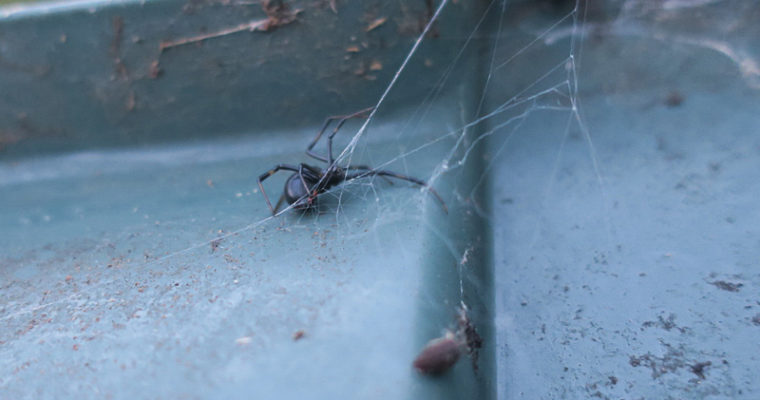
I was definitely in denial about black widows. A friend had talked about seeing black widow spiders in her garden, and I just thought to myself, “she’s mistaken.” I mean, I’ve lived in the SF Bay Area for more than a dozen years and never …
I know you’re freaking out, because I am freaking out. We’re all freaking out. A little more or less, depending on time of day, amount of media consumed, number of dependents we’re supposed to home school, percent of productivity we’re expected to be at, etc, etc. There’s Coronovirus out there. Covid-19. Then there’s the shortages, at supermarkets, but also at the seed catalogs, the dog shelters (well, that’s OK, I guess), the gun stores (less OK…).
In these times of uncertaintyinsanity blathering blatherskitingMADNESS, it’s the things we can’t control that add to our anxiety and increase depression. How do we counter the chaos and take back control? I suggest doing a few small things that make you feel safe and secure in this new, unsure world. Your home,computer, garden or windowsill are all perfect places to assert your power over things again.
Plant Quick-to-Harvest Greens
These are things you can plant now and see results in weeks, not months. They can grow on your counter top under lights or in a sunny windowsill. This is a quick win in a time when you need a boost of confidence. Tomatoes are nice and all, but when summer seems like a million Blursdays away, you just need something to eat that you grew NOW.
Microgreens and Lettuce are perfect for this. Sprouts will work, too, if you’re into that sort of thing. Since some seeds are hard to find right now due to the crazy uptick in people stuck at home, check your seed collection. Do you have older seeds from years past? Even if the germination rate isn’t great, it’s worth a try. And if that’s a bust, don’t forget your pantry. Did someone say ch-ch-ch-chia?
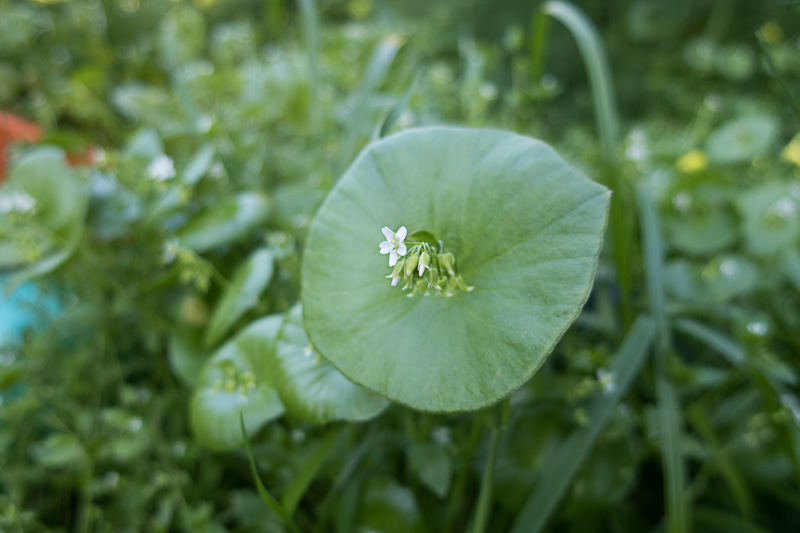
Miner’s Lettuce
Remind Yourself that You Won’t Run out of Food
I’m going to make a wild guess that if you’re reading this website, you are not particularly food insecure in general. That means that aside from kicking yourself that you didn’t buy that second pack of canned tomatoes at Costco in late February (they were Hunt’s brand and not San Marzanos but they’d be really nice to have right now…), you must admit you’ve got a treasure trove of meals and snacks on hand for the coming weeks. Even if you didn’t go to store again or have food delivered, you and your family would be fine.
And, even if your fresh and frozen veggies and fruits ran out, and you seriously could not, would not go to the store (because Sam-I-Am kidnaps you?)–remember, you live in the SF Bay Area! You’d still be able to go outside and find fresh citrus on lemon, orange, and lime trees, as well as Vitamin C-rich Miner’s lettuce in shady spots throughout the region. There’s avocados on trees. Strawberries are coming into season. Infant plums are on the trees now. And that’s not even counting what you might be planting now, like brassicas and lettuce and spinach and peas.
And, if you’re still worried, get to work and lay down that emergency garden now. There’s still time, and you live in the best place in the world to grow food and it’s the best time to do it.
Take a Walk
Yeah, we need to shelter in place, in our hobbit holes, peering out nervously, but we also need to see the sun, and the green things, and smell the earth. Even if you just amble into your side yard and check on a few containers of seedlings, be sure to get that touch of sunlight. Seeing green things, smelling them (the jasmine and mock orange are blooming right now)–these are good for your mind to process. Life is happening around you–normal life, like it was before. Like it will again. Like it ever was.
Help Your Neighbors
Even if in the before-time you tried to avoid Social Media, get on Facebook or Next Door or whatever they use to see what’s going on with your neighborhood. Not only is staying connected with your community a great way to feel less isolated, it also gives you ways to help out–and helping makes you feel more in control. I myself gave away a bunch of seeds that I wasn’t going to use this season since I know it’s hard to buy this year. Seeds are cheap, and I have so many. It was easy to do, but so many people were so thankful.
Give In to Your (Non-Destructive) Impulses
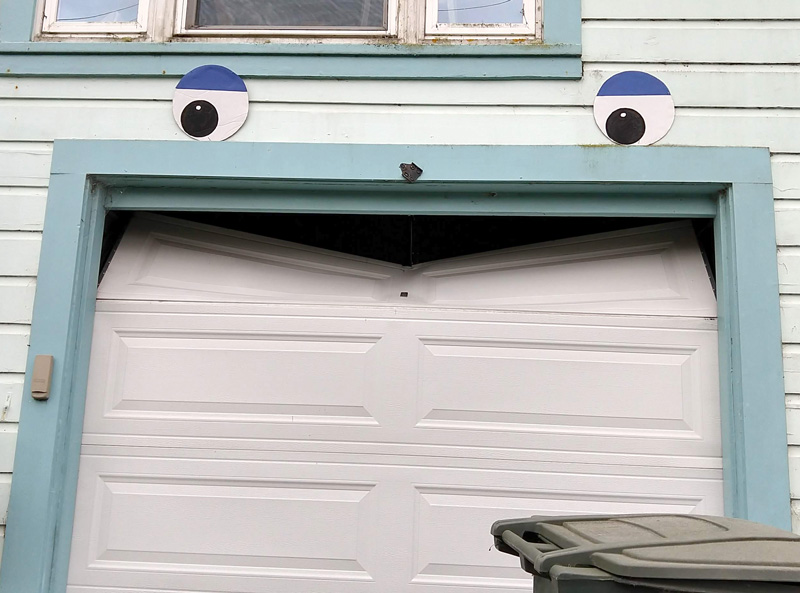
Making sourdough starter from scratch? Sure! Working on your long-suffering post-apocalyptic novel you started in high school? This is the perfect time. Putting giant Muppet eyes on your broken garage door (see photo above)? Do it! If it makes you happy, or even if it just distracts you from things that don’t make you happy, do it. It’s a time to control your emotions with activities that take your concentration and focus. Bonus if they give your friends and family some happiness, a full belly, or even a giggle.
Kill Something (AKA Give In to Your Destructive Impulses)
Don’t worry, I’m not suggesting you go full Mindhunter here. I mean kill something that you should kill. Like weeds in your garden. There’s something satisfying and calming about a good, honest fight to the death, you know? Especially one you know YOU, the human, will win. Like Fennel, which will put up a hell of a fight unless you catch a new plant right after a few days of heavy rain. Or Blackberry, which will give you some gnarly scars, especially if you don’t have protective gauntlets. Annoying mold or mildew patches in the house are also good for this kind of battle. How many rounds of spray-and-scrub will it take? Can your arm strength hold out?
The world around us may suck for a while yet, so I hope you can keep your hopes high and your plants green. If you have ideas for keeping your sanity in these strange times, please leave them in the comments below–I’d love to hear them!
Sometimes I worry, as spring approaches, that I’ll lose interest in gardening—that there just won’t be anything new to strike my fancy. But then, the seed catalogs come. And the emails about the new seeds show up in my inbox. And I am smitten, once …
Even as fall looms ahead of us, our warm September weather keeps the tomatoes, cucumbers, and gourds growing strong. And while the wild blackberries in full sun may have shriveled up, the ones in shady spots are just now fruiting plump, tasty berries. Here is …
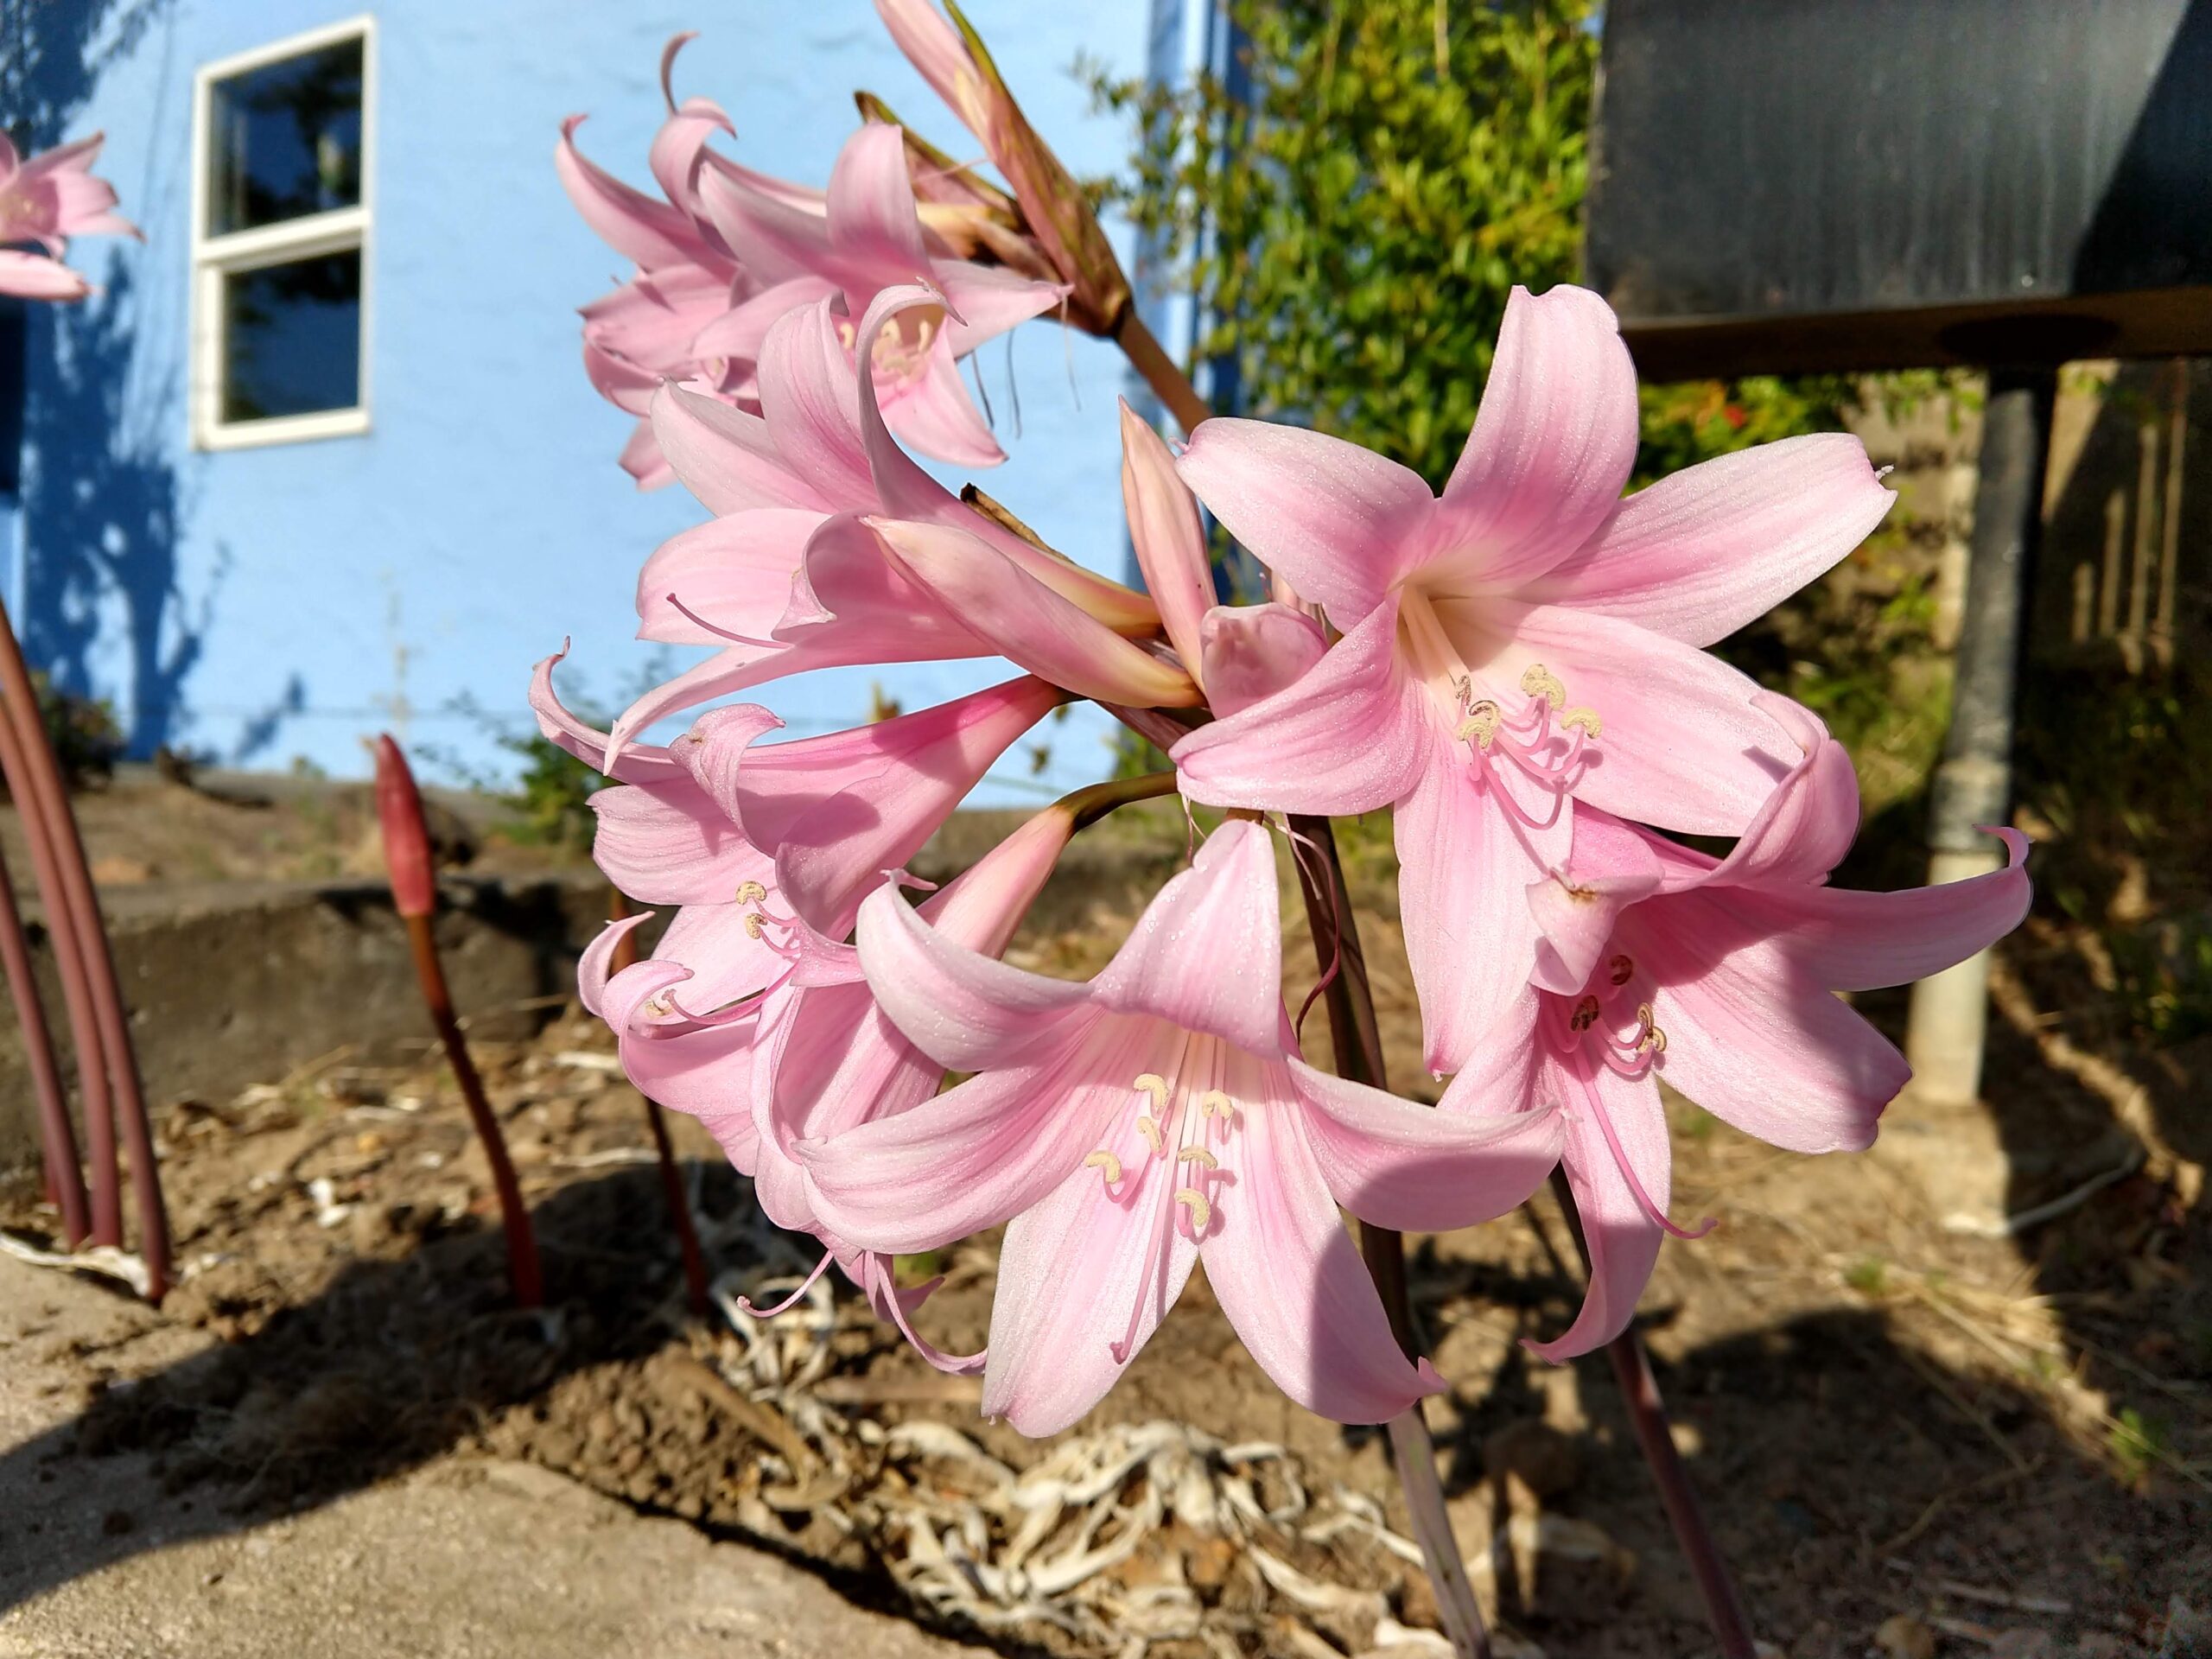
Don’t worry, I’m talking about the beautiful, fragrant, and totally weird flower that pops up this time of year, right after all its foliage had died back.
The Belladonna Amaryllis (AKA Belladonna Lily, AKA Resurrection Lily, AKA Naked Ladies) is ablaze just about everywhere sunny in late summer in the Bay Area. The plants display pink flowers on their naked red stems, some petals streaked with white, and some more magenta than pink.
As a transplant from the East Coast, I first saw these mysteriously pop up in my backyard. I would have called them Zombie Lilies, given their blood-red stalks eerily appearing from what looks like nothing but earth. The appearance of those red stalks also made me think of some evil alien fungus from a sci-fi horror movie.
Luckily, the Naked Ladies are not that sinister. Their green foliage appears in the winter lasts through spring and then dies back. A few months later, in the late summer, the flower stalks shoot up. They store the energy from their green leafy time in a bulb, and use it to produce the flowers. Weird, but kind of awesome, too.
And, you can divide clumps of those bulbs to produce more of them, if you are so inclined. Plus, the seeds they produce can grow into plants, but they must be planted when fresh, not dried. The ones in my yard are just at the end of their flowering, so I’m hoping to harvest some of those seeds and try planting some new ladies myself soon.If you have grown Naked Ladies, from seeds or root division, please let me know how it worked out in the comments below!
There are many beautiful fruits out there, and I’m sure you’ve grown some that you thought were drop-dead gorgeous. But would you say many of them were cute? Let’s say you’ve got a plant that looks like the biggest garden fruit, i.e. watermelon, but is the …